
Google Firebase Test Lab is a cloud-based app-testing infrastructure. With one operation, you can test your Android or iOS app across a wide variety of devices and device configurations, and see the results—including logs, videos, and screenshots—in the Firebase console.
Firebase Test Lab runs Espresso and UI Automator 2.0 tests on Android apps, and XCTest tests on iOS apps. Write tests using one of those frameworks, then run them through the Firebase console or the gcloud command line interface.
Firebase Test Lab lets you run the following types of tests:
As with all web and mobile applications. Applitools offers an easy, consistent way to collect visual data from multiple device types running different viewport sizes. In the rest of this article, you will run through a demonstration for using Applitools with Google Firebase Test Lab.
In this Demo I have choose a simple “Hello World” app, and to keep you running we already have an example Espresso Instrumentation Test you can find the Complete Project here https://github.com/applitools/eyes-android-hello-world
I know you have looked into the GitHub repo. Let’s just get few more prerequisites installed and make sure they are ready to use and deep dive. Make sure you have installed and/or configured the following:
Installing the Android Studio
Now let’s install Android Studio / SDK so that you can run the test script on an emulator or real device. You could install the Android SDK only but then you have to do additional advanced steps to properly configure the Android environment on your computer. I highly recommend installing the Android Studio as it makes your life easier.
Download the Android Studio executable. Follow the steps below to install locally on your computer:
1. Get the code:
2. Import the project into Android Studio
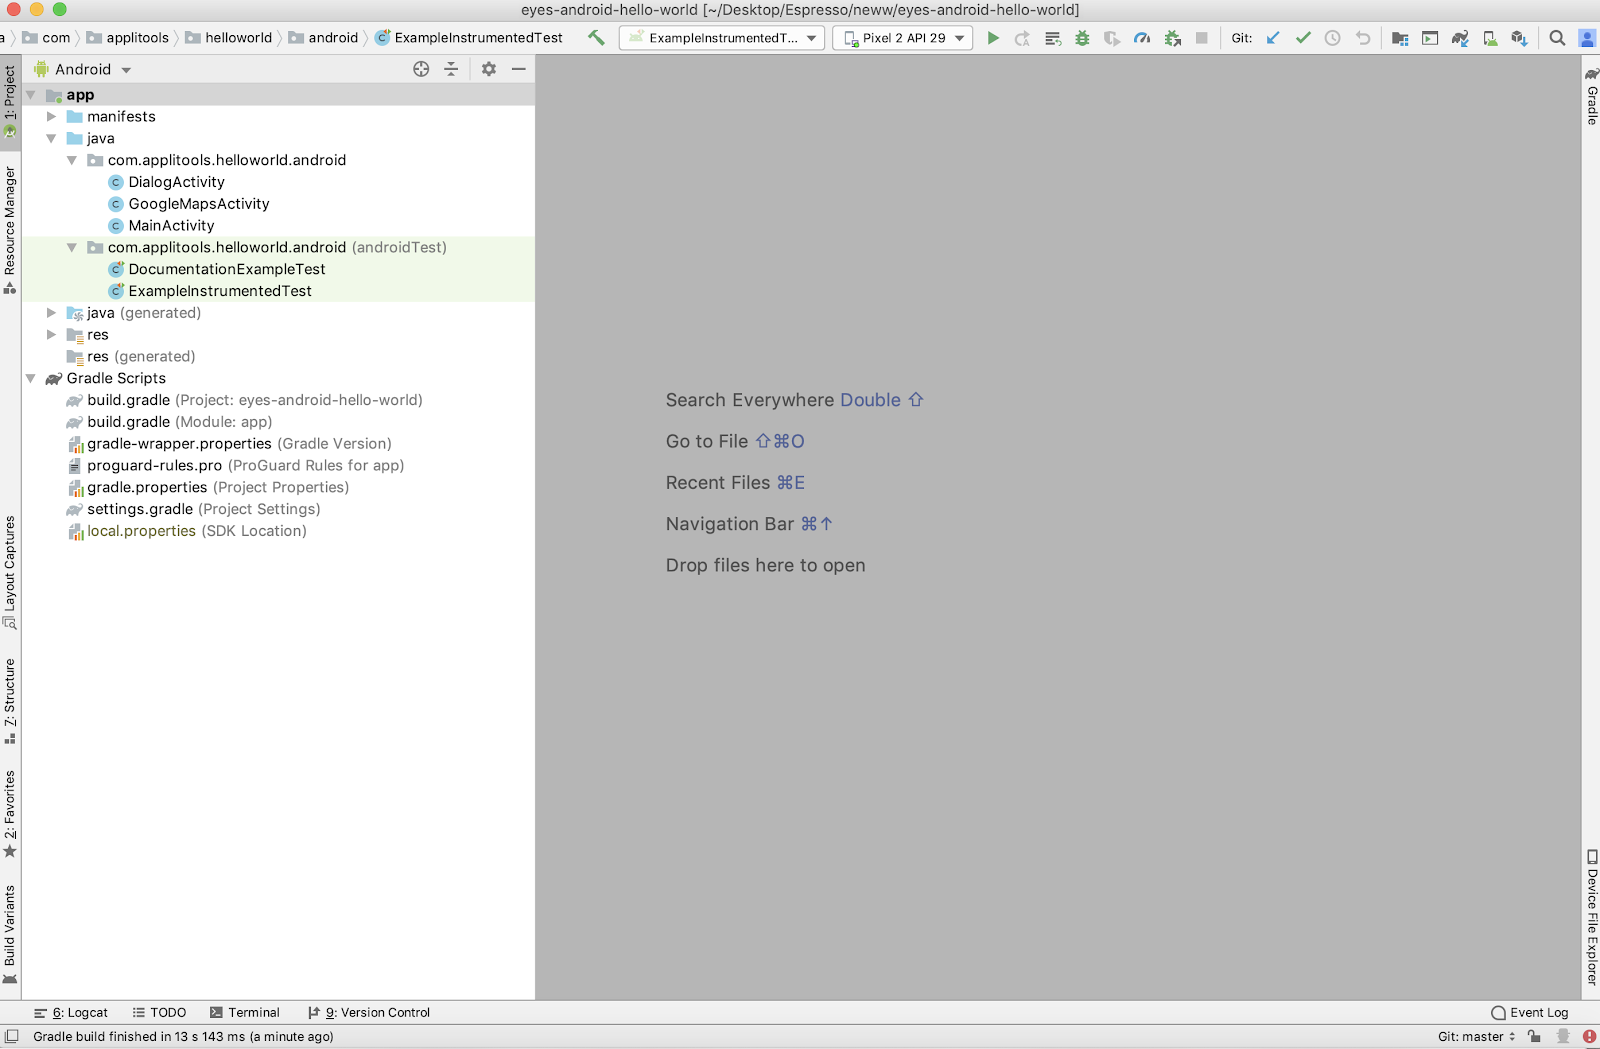
Let’s look at the Instrumented test ExampleInstrumentedTest under androidTest.
Before we run the test on Firebase lets run it on local emulator.
That’s pretty easy isn’t it? Applitools will now capture each screen where the eyes.CheckWindow() is called and create a baseline on the first run.
Once the test completes, you can analyze the test results on the Applitools dashboard.
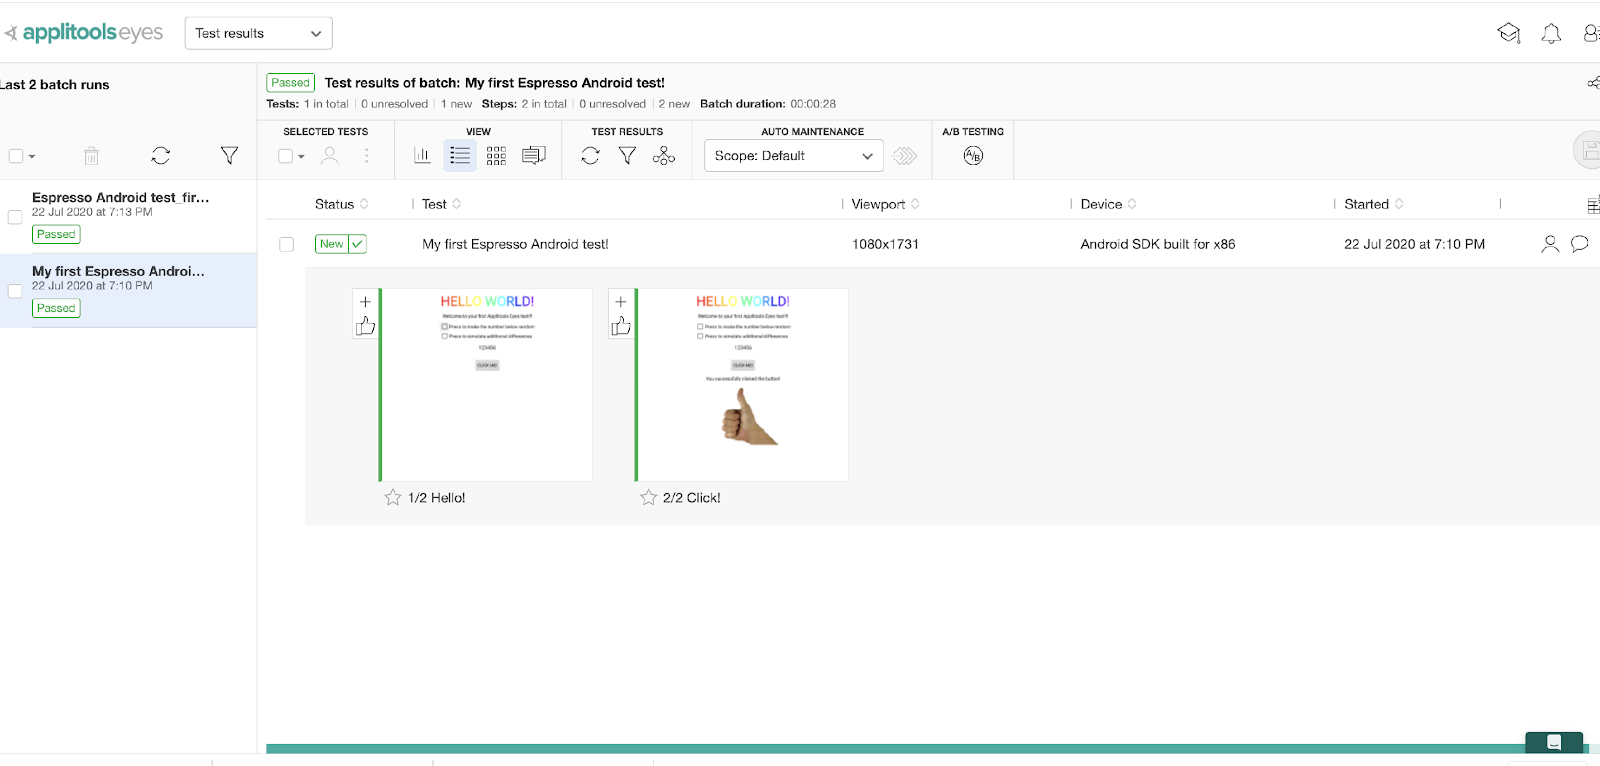
Now let’s run the test on Firebase devices. To do this we need first need an account so let’s get that
Step1: Navigate to https://firebase.google.com/ and click on sign in
Step2: Click on Go to Console, Navigates to the Console Dashboard
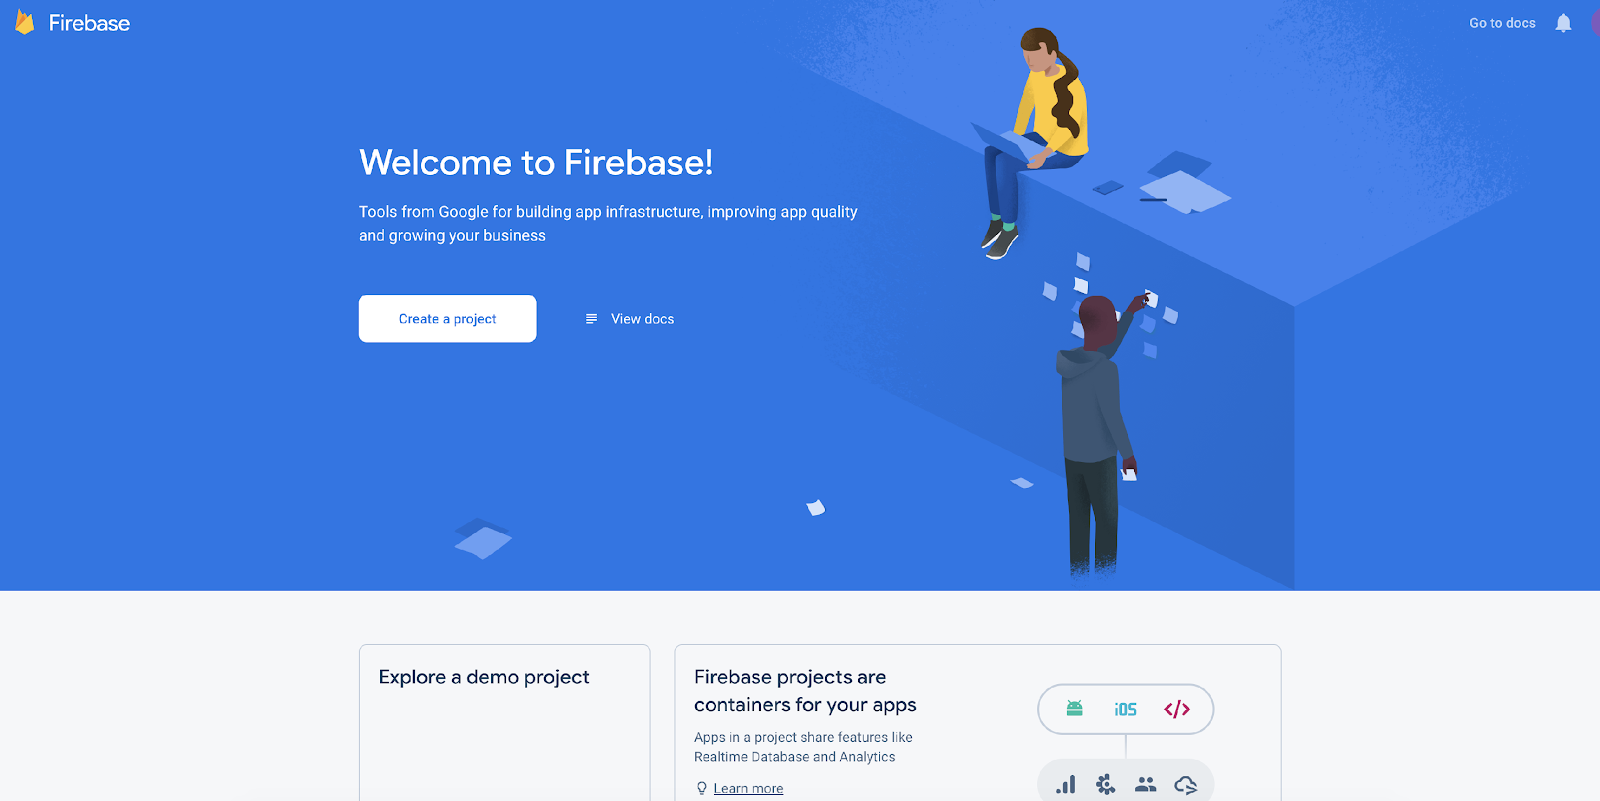
Step3: Create a Project, once you create a project, all good to explore the dashboard and see through all the features available here.
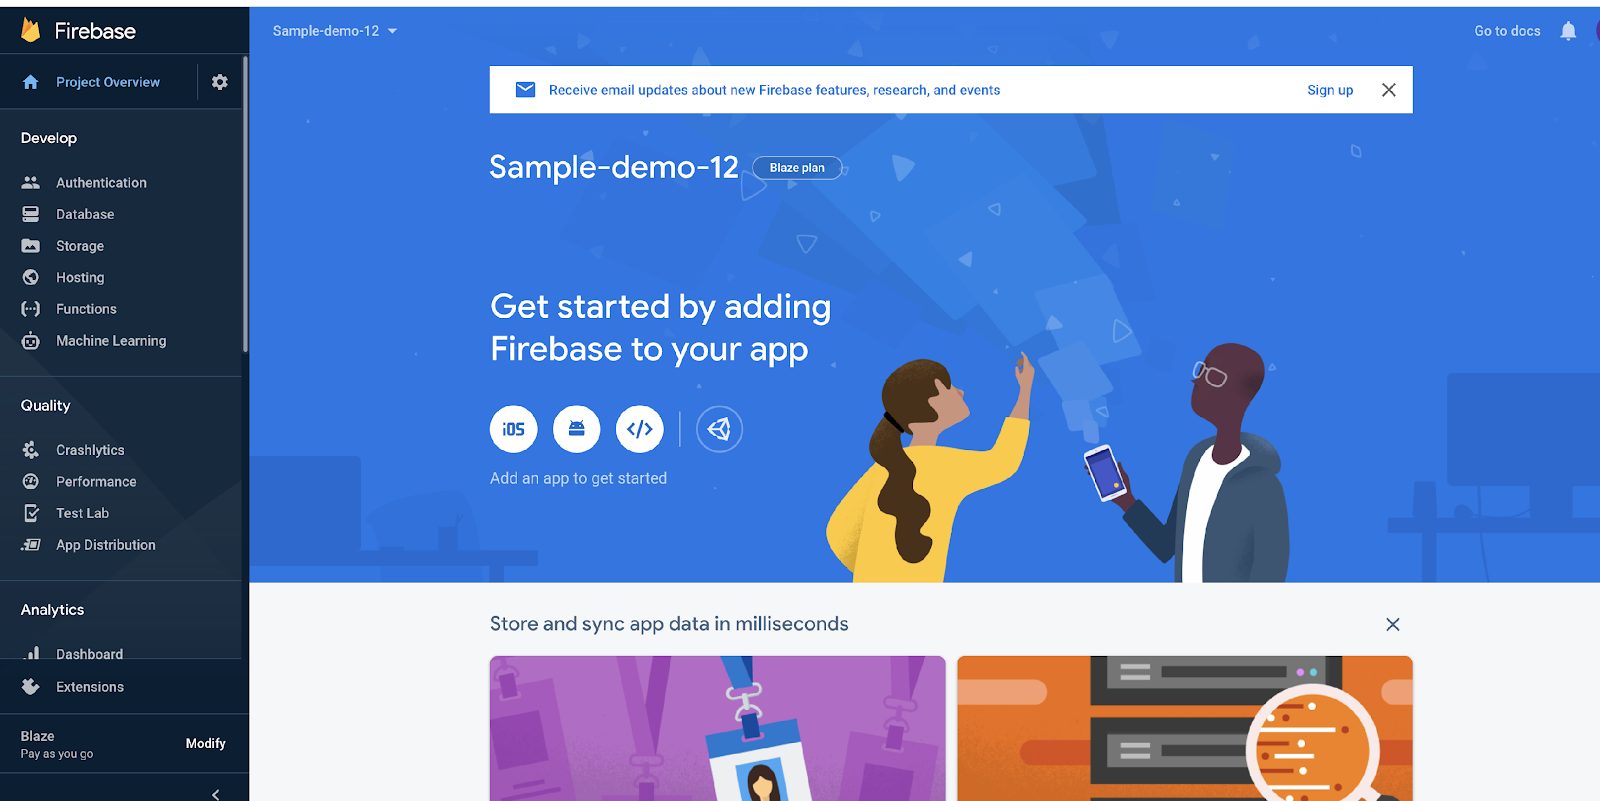
Step 4: Lets Add the Configurations in android studio to run the tests
Step 5: Sign in with Google Firebase account and click ok
Step 6: Re-open the edit configurations
Now you can see the configure settings for Matrix configuration and cloud project
Select your project and add one or more custom devices from list of 150. For now let’s add 2 devices, Platform Android 9.x, API Level 28 (pie), Locale, Orientation.
We will use these devices to run our Instrumentation test on Firebase.
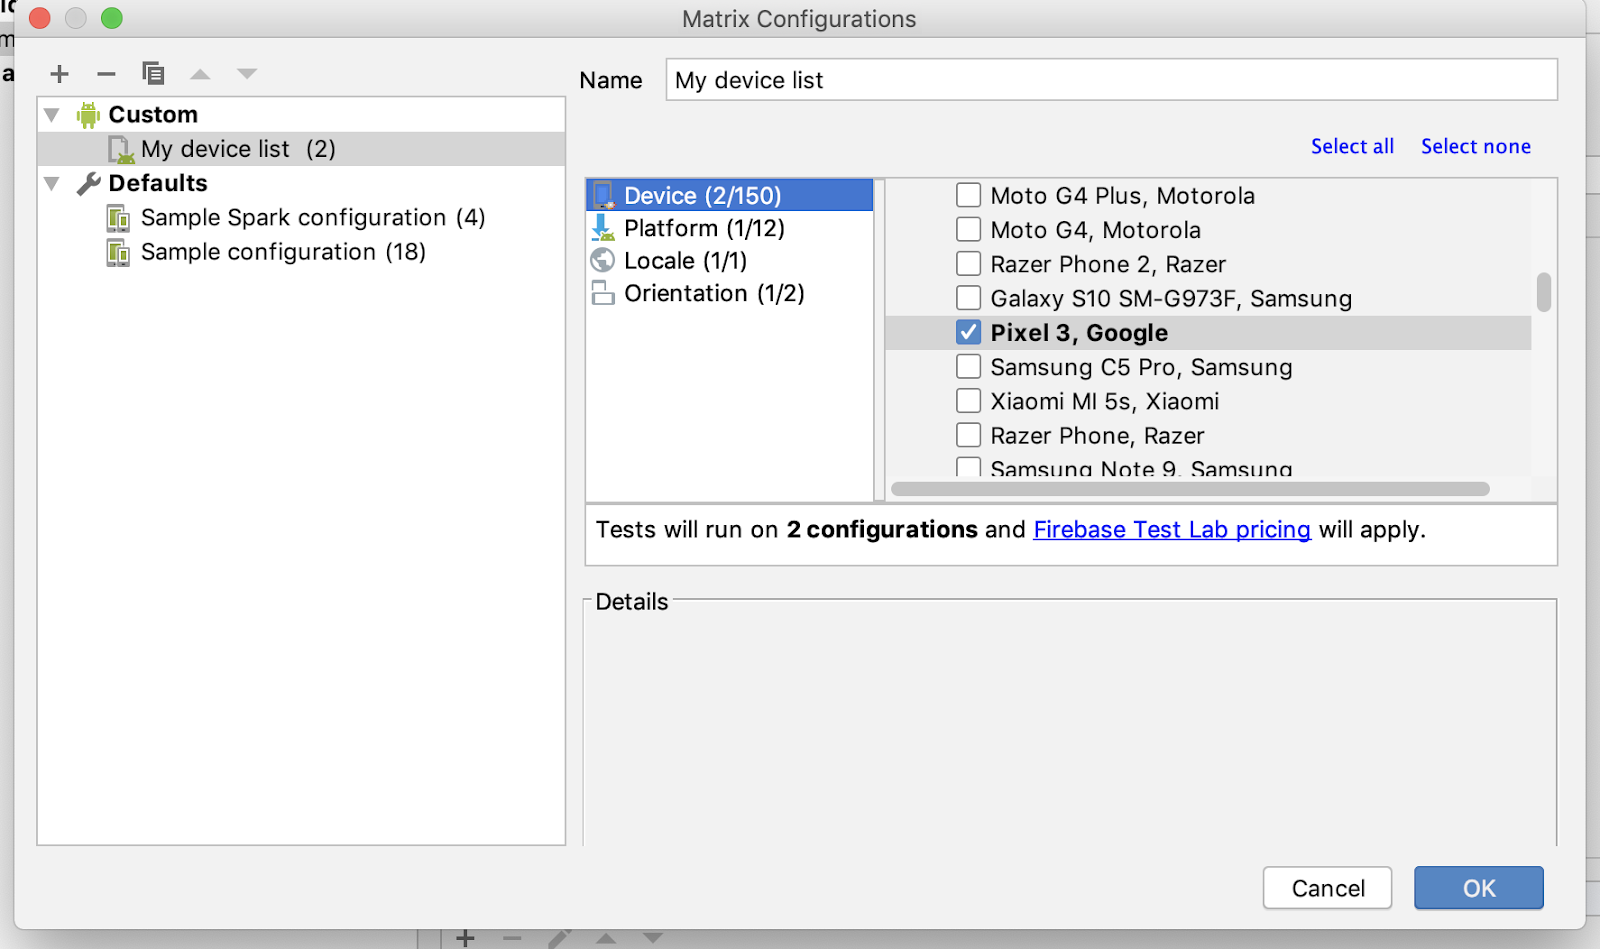
That’s it we are all good to run our test on the Firebase
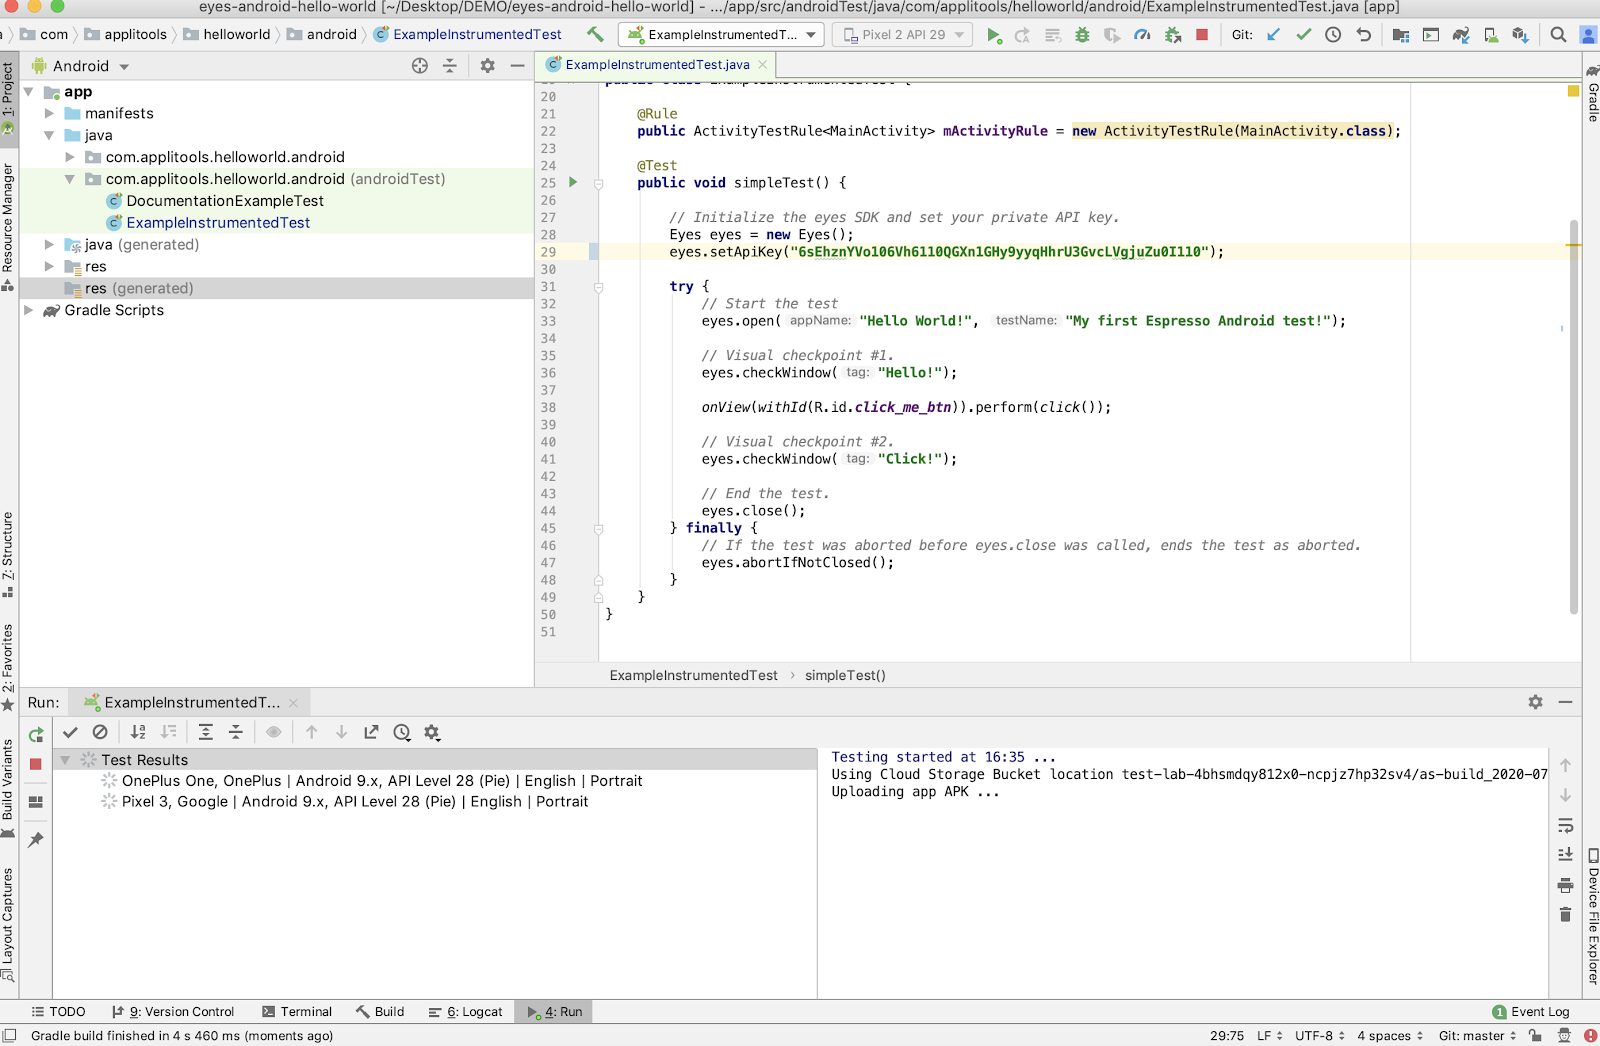
Click on Run Example Instrumented Test this will now execute you tests on the devices you have selected on Firebase.
Let’s Go back to The Test lab on Firebase and you can see your tests running over there Parallelly with visual comparison checks done on Applitools AI Platform.
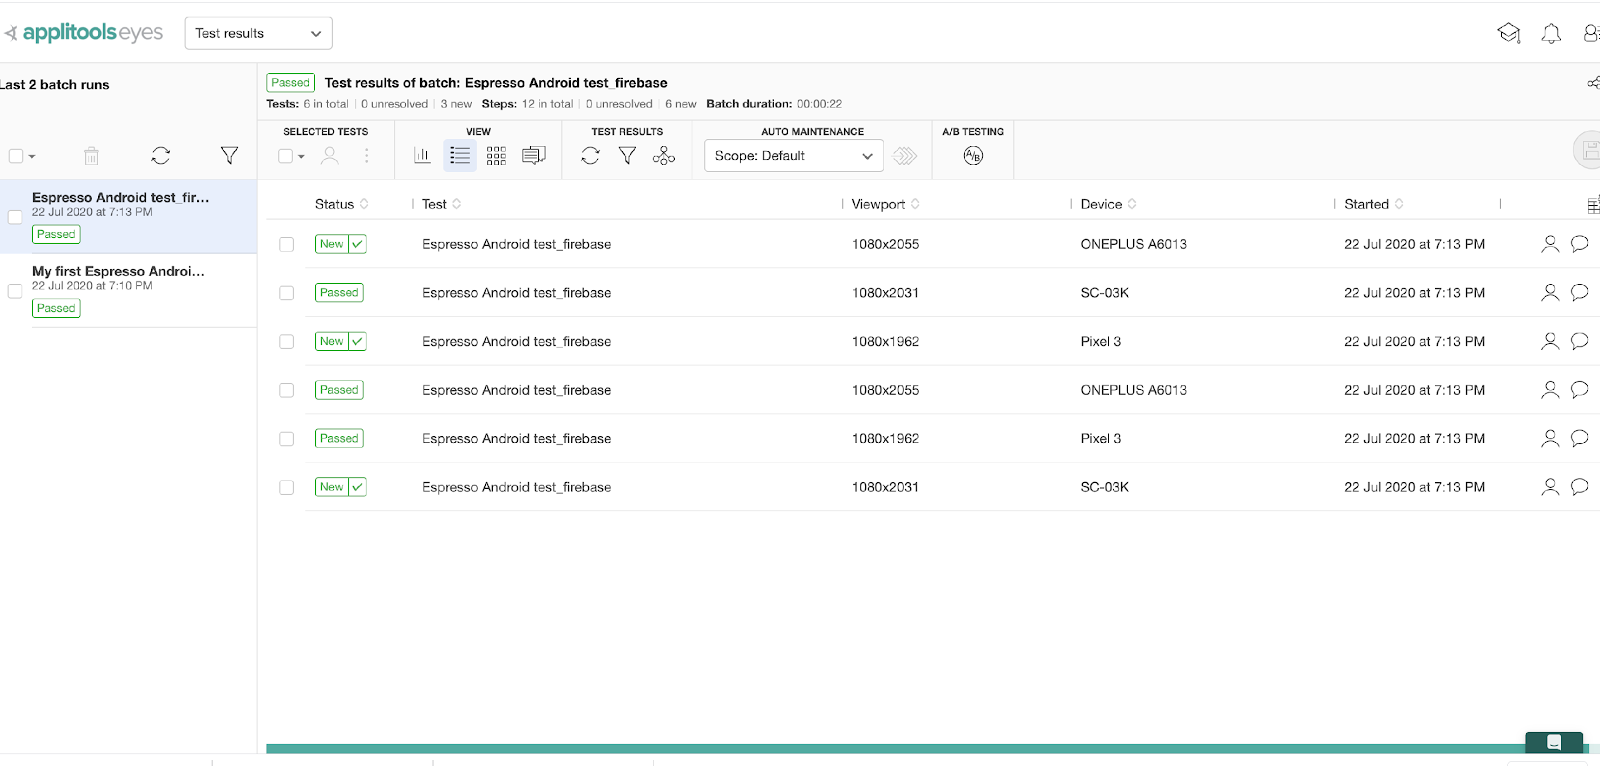
Applitools allows you to test your mobile app by running it on any device lab. Google Firebase allows a streamline platform for developers (build) and quality engineers (test) to run tests on any device configuration. The integration make it easier to use the best of platforms for best quality applications.