Give Your Optimizely Devs (and Agents) Visual Guardrails to Prevent Bugs. Save your spot for the Oct. 29th webinar

Give Your Optimizely Devs (and Agents) Visual Guardrails to Prevent Bugs. Save your spot for the Oct. 29th webinar
I regularly use Jenkins CI and GitHub to help our customers integrate Applitools into their continuous integration workflow. Even though I’m pretty familiar with both tools, one thing drives me nuts.
Here’s the problem: I can’t see Jenkins build status in my GitHub repo pull request. Below is a screenshot of a typical GitHub pull request. As you can see, there’s no indication of my Jenkins build status.
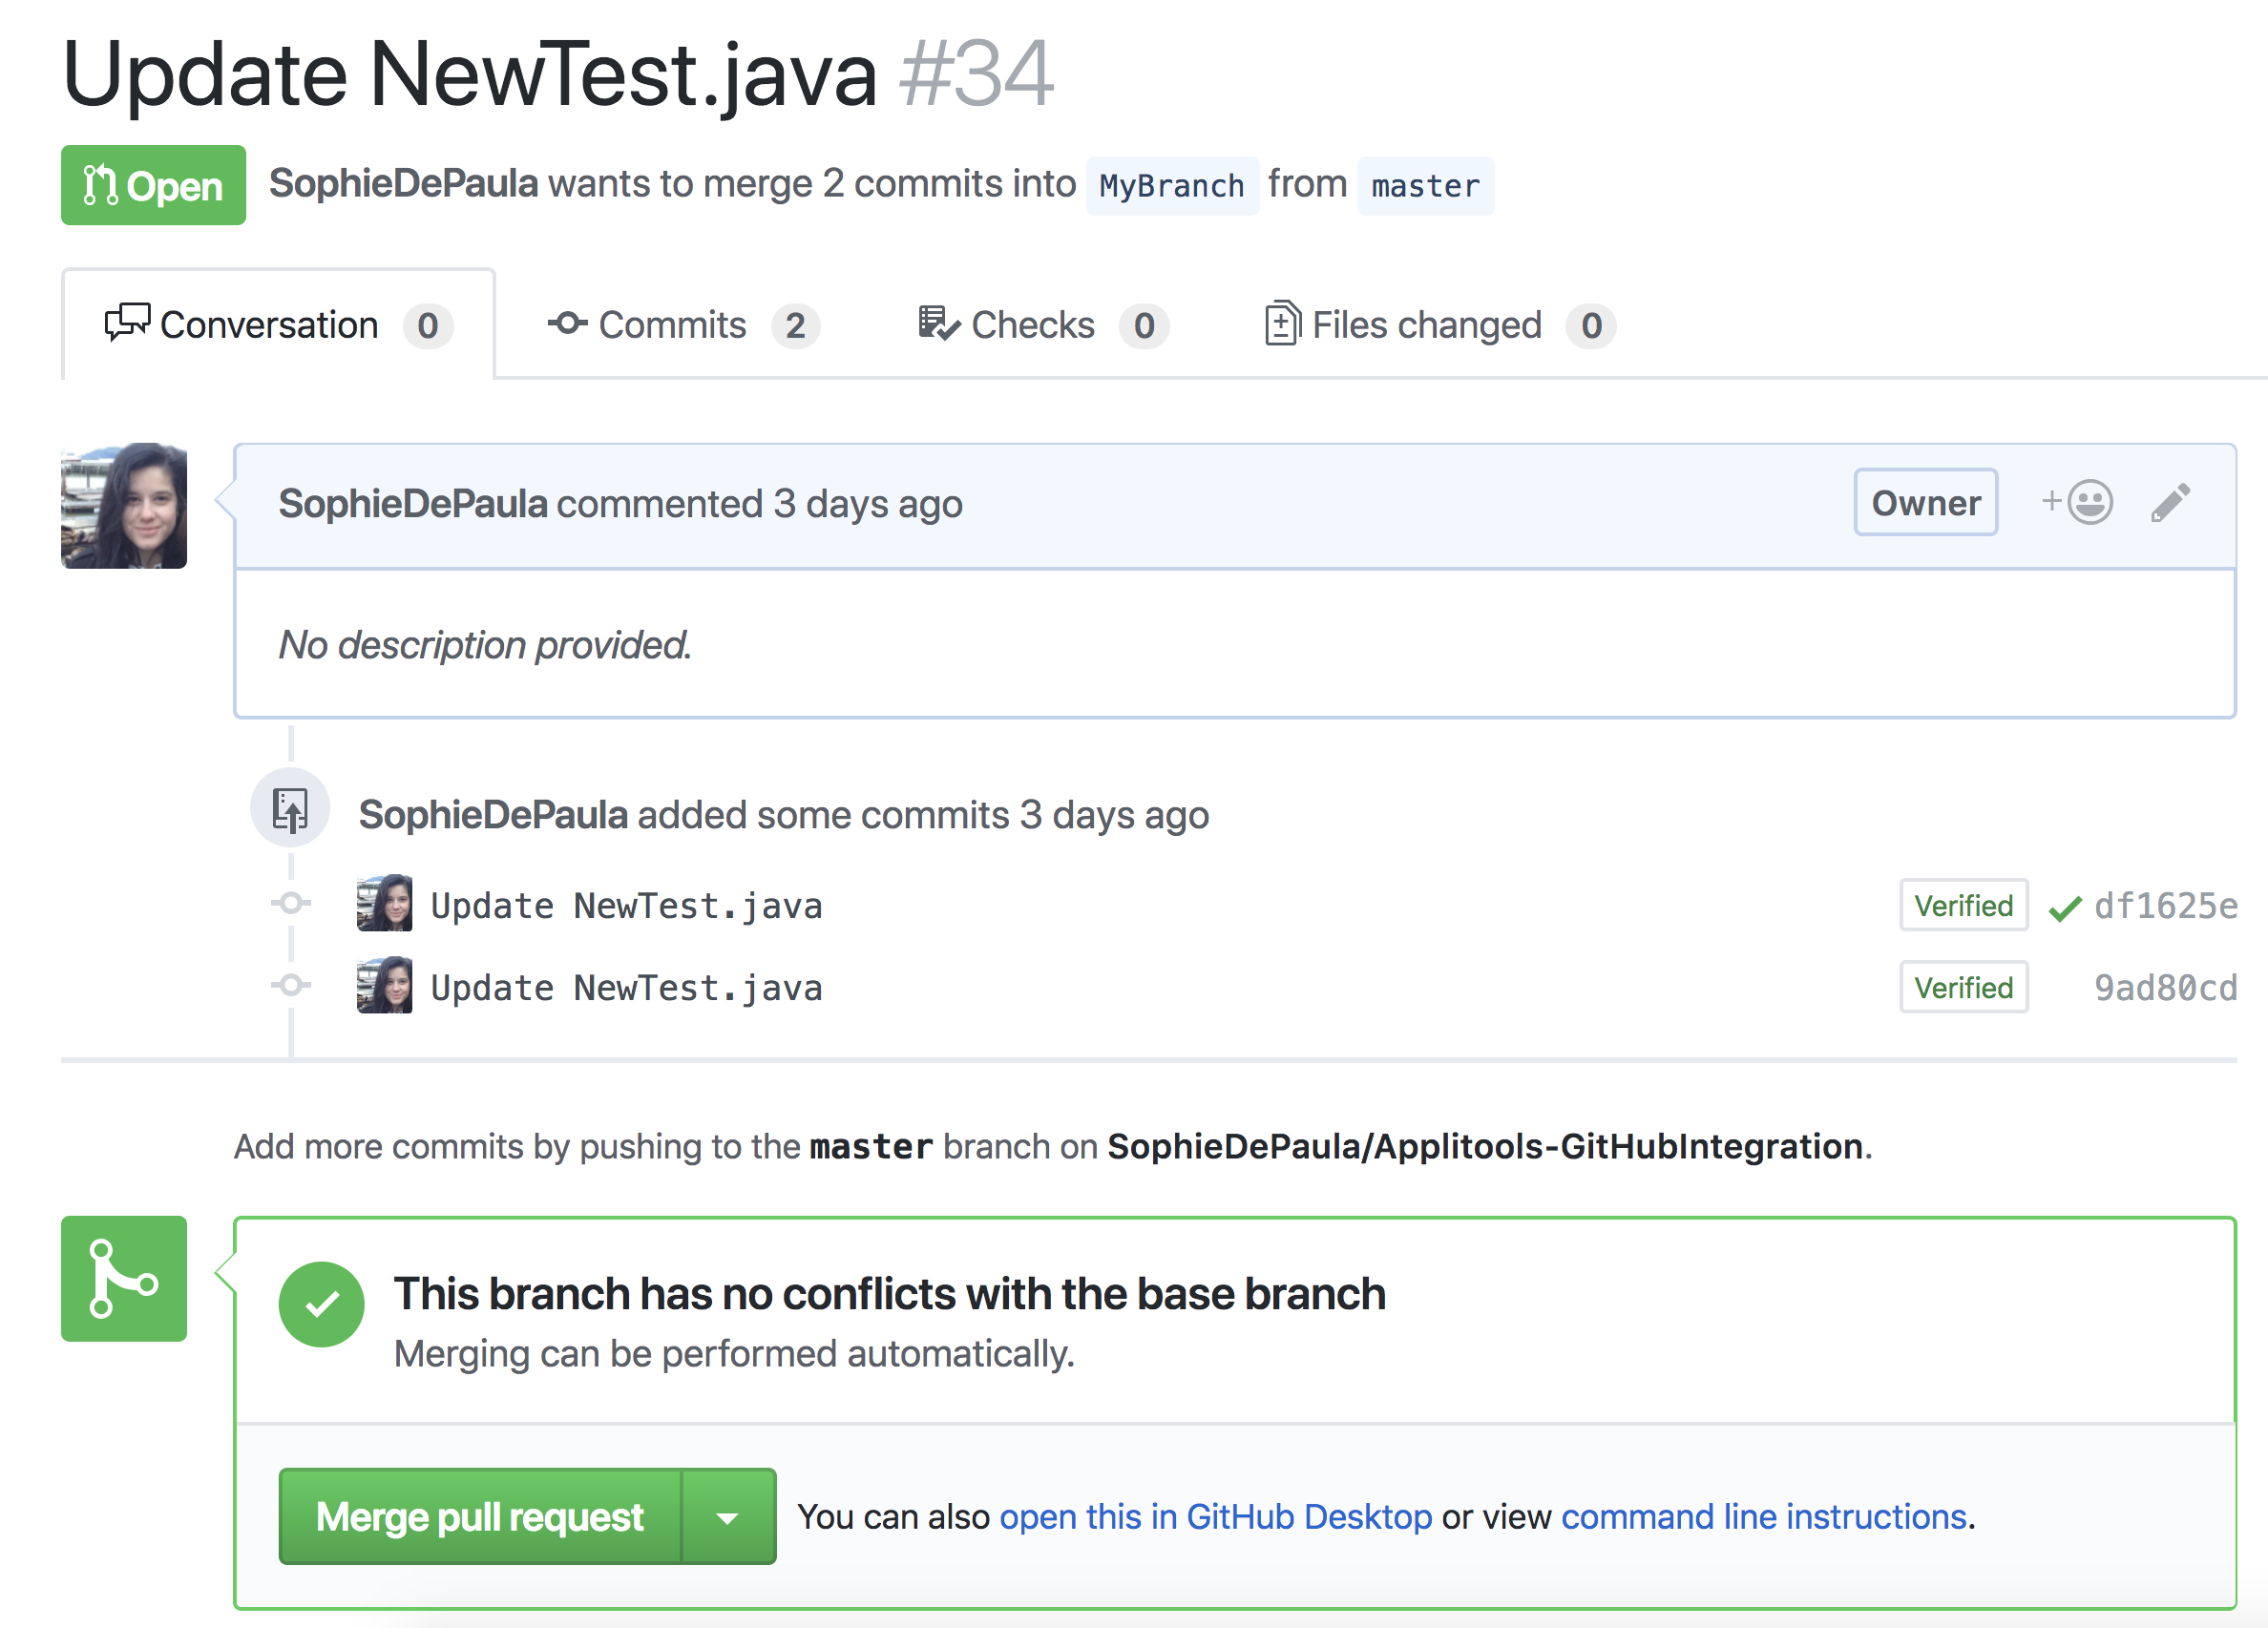
This forces me to leave GitHub and go to Jenkins every time I merge, just so I can check the build status.
Doing this once is no big deal. But after doing this for a hundred pull requests, I feel like pulling my hair out (and that would just look weird).
This is especially frustrating since other continuous integration servers, like Travis and Circle CI, make this easy.
Since Jenkins is the third most popular continuous integration tool used with GitHub (after Travis and Circle CI), you’d think this issue would have been solved.
But when I started looking online for a way to solve this issue. I found some good resources, but not one document that described the process from beginning to end with all the configurations needed.
So, to spare you the pain I’ve gone through trying to make this work, I wrote this end-to-end tutorial on how to update Jenkins build status in the GitHub pull request page.
So let’s dive in!
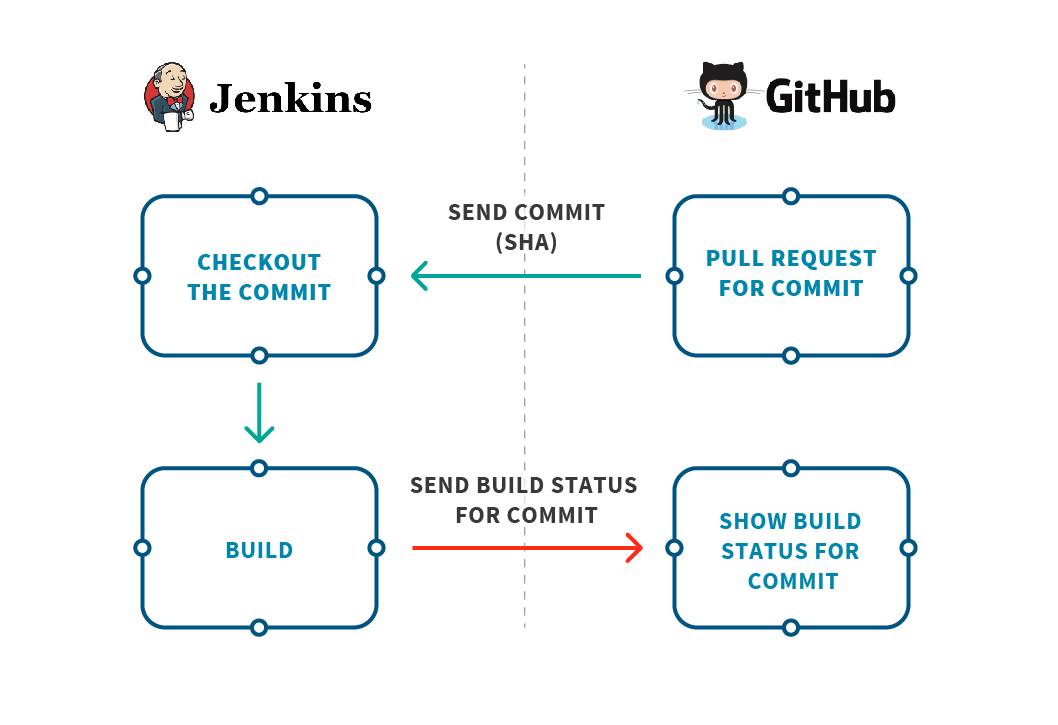
To get a better understanding of the interaction between those tools and the problem they present, see the following diagram. The red marks are the parts that are missing and this post is attempting to fix.
To follow the steps below, you just need a couple of things:
3) Bask in the awesomeness of your technical prowess
So, how to get GitHub set up with Jenkins? These steps explain.
What you’ll do here is install the Jenkins plugin on your GitHub repository in order to trigger a build in Jenkins when you commit a change in GitHub. This way, Jenkins can run tests to make sure your code is working as expected.
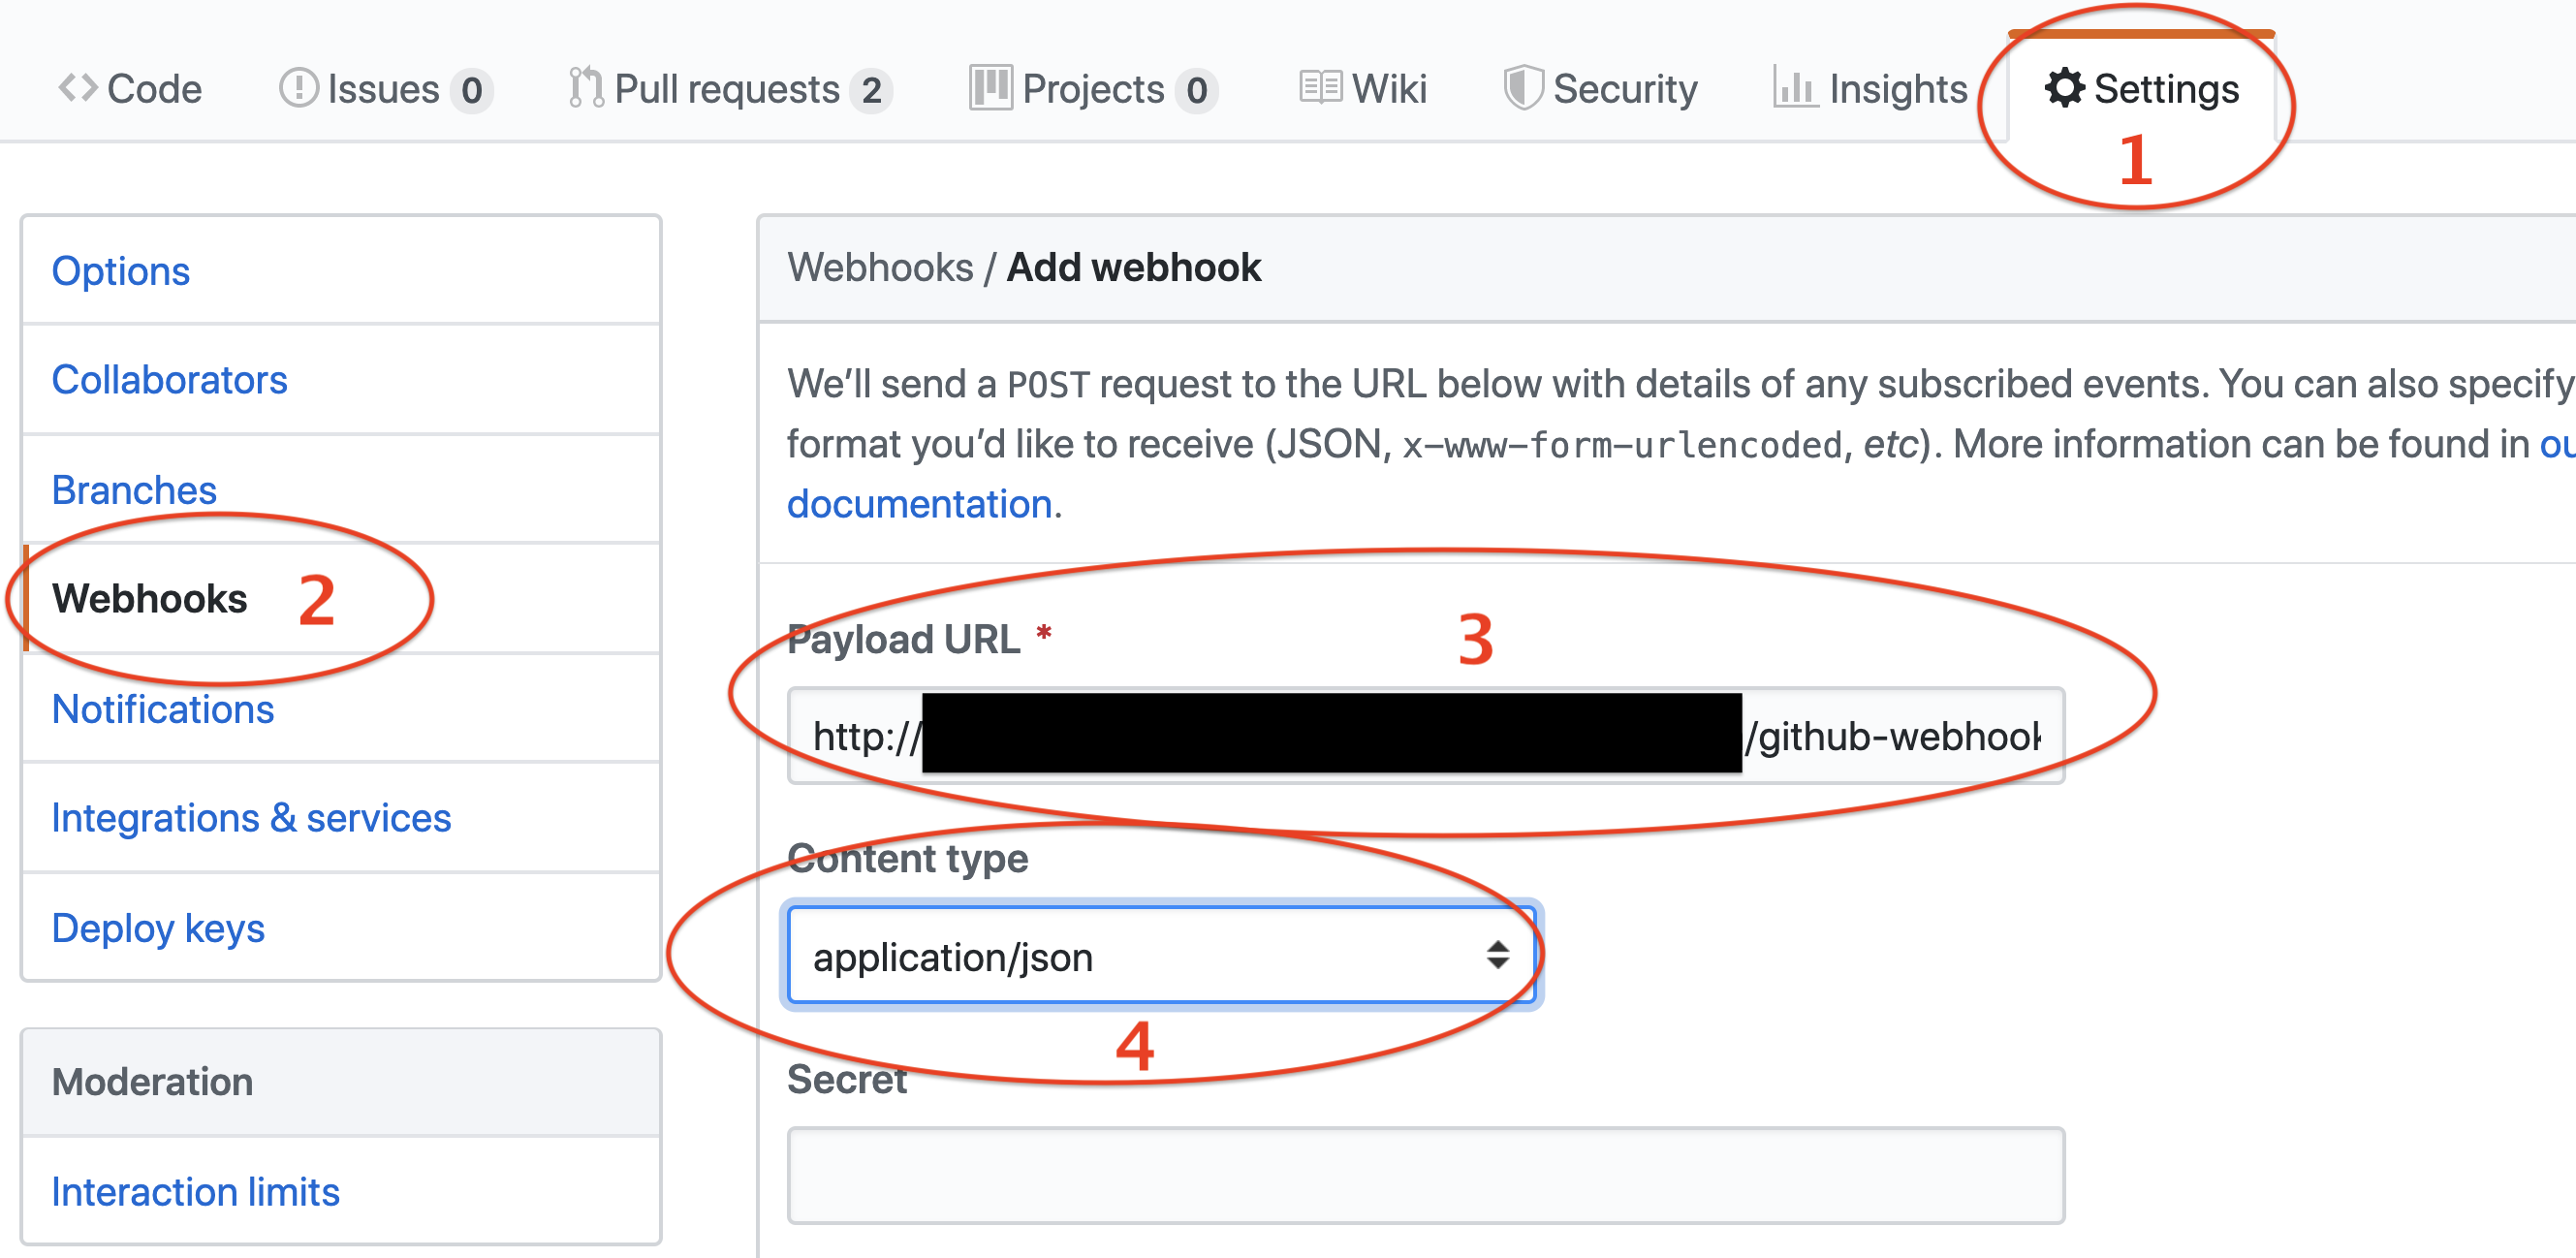
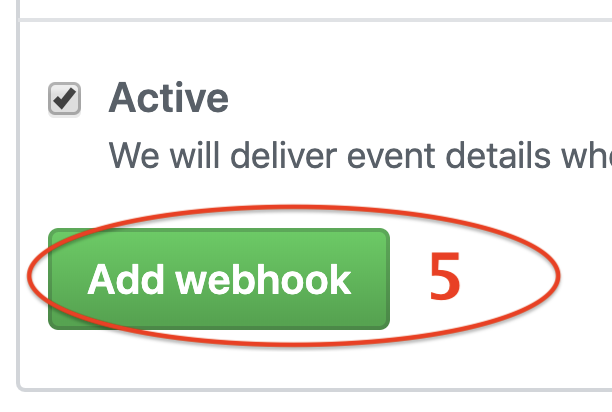
On your GitHub account, go to your repository and configure a webhook to the Jenkins server:
Here’s what those steps look like visually:
So, how to get GitHub setup with Jenkins? These steps explain.
What you’ll do here is install the Jenkins plugin on your GitHub repository in order to trigger a build in Jenkins when you commit a change in GitHub. This way, Jenkins can run tests to make sure your code is working as expected.
On your GitHub account, go to your repository and install the Jenkins plugin:
Here’s what those steps look like visually.
You will need to generate a GitHub access token for security purposes. This token can be used by an application to use an API, here the application is Jenkins and the API is the GitHub API to update the Jenkins build status in the pull request.
Ok, now you’re on to some non-obvious items.
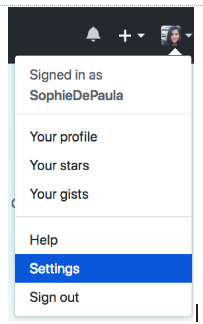
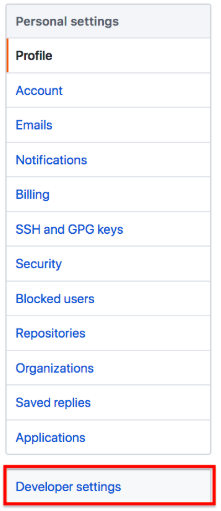
3. Go to Developer settings on the left side menu, all the way on the bottom:
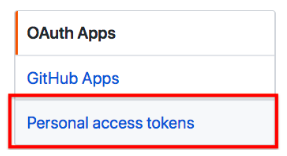
4. Click on Personal access tokens:
5. On the top right corner of the screen click on the Generate new token button.
6. Insert your password.
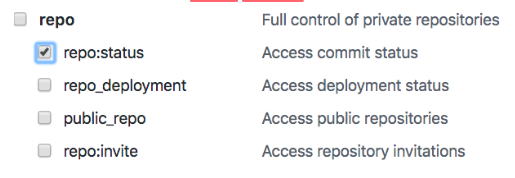
7. Under repo check the repo:status checkbox.
9. Click on Generate token at the bottom of the page.

10. Make sure to save your token somewhere so you can use it later, such as in the curl commands above.
So, how to get Jenkins working with GitHub? Let’s show you how.
What you’ll do here is set up your Jenkins project to run your automation tests and call the GitHub API to update the status of the commit with success or failure.
Install GitHub plugin:
Setup GitHub configuration:
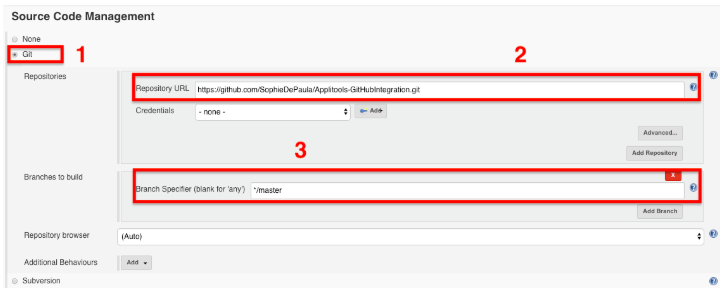
Now that you have GitHub setup, do the following:
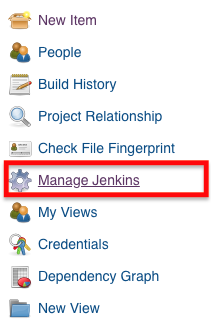
Here’s what you’ll see when you run each of those commands. First, the Manage Jenkins command, in the menu bar on the left side:
Next, the Manage Plugins command.

And finally, the Install Hudson build task command.

(In case you’re wondering why you’re installing a Hudson plugin and not a Jenkins plugin, it’s because of this interesting bit of CI historical trivia.)
The next step is to go into your Jenkins project post build actions, and add two post build tasks. One task for success, and another for failure. You will need those actions to distinguish between a successful build and a build that failed.
Define those build actions as follows:
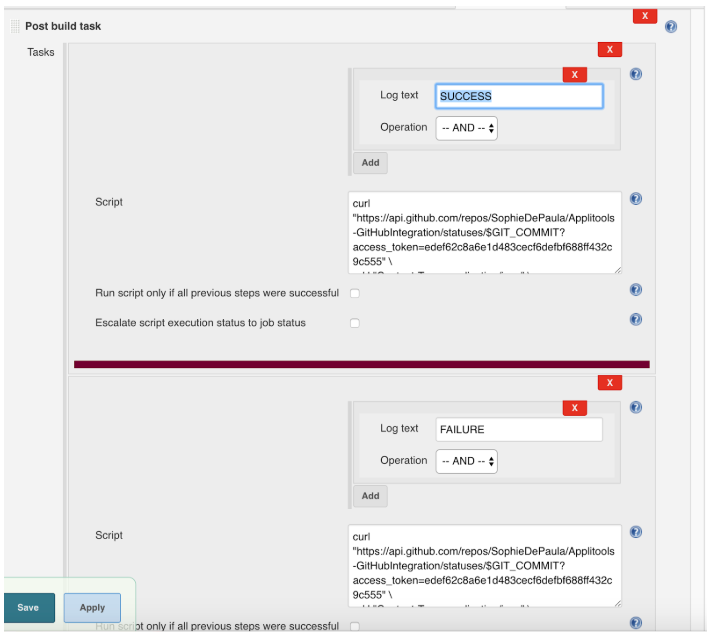
What you are doing is looking for the words “SUCCESS” or “FAILURE” in the Jenkins log. When you find “SUCCESS”, you run a script that uses the curl command to call the GitHub webhook API to set the build status of the commit that started the build in GitHub pull request. The commit identifier, the SHA, is accepted by Jenkins within an environment variable – $GIT_COMMIT. Similarly, if you find “FAILURE” in the Jenkins log, you use curl to let GitHub know that the Jenkins build failed.
Either way, the status will be updated in the pull request. And, if you run Applitools tests, the Applitools status will also be updated.
For log entries containing “SUCCESS”, here’s the post-build command that you want Jenkins to run:
And for log entries containing “FAILURE”, here’s the post-build command that you want Jenkins to run::
Notice that you will need to replace the following with your relevant info:
Let’s dig into these post-build commands, using the curl man pages.
As you can see, these are having curl request a URL from api.github.com. This URL has your GitHub username, repository name, and access token in it.
You’re sending a JSON snippet in the header of the HTTP request, as specified by the -H option. And you’re sending an HTTP POST request, as indicated by the -X flag. And the data that post command is sending, indicated by -d, is a bit of JSON with either success or failure, your Jenkins URL, and your Jenkins project name.
(That’s some pretty complex curl you got going!)
Once you get it set up be sure to give yourself a pat on the back. Or a nice Belgian waffle with whipped cream and strawberries. (I know which one I’d pick!)
So, where do you get all this information?
To get this info, you’ll do the following:
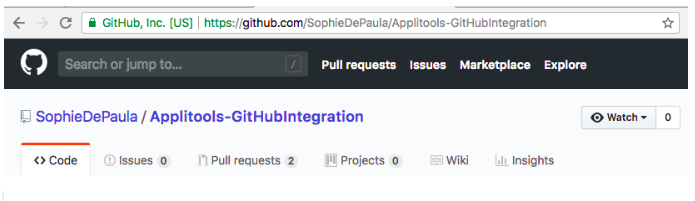
http://ec2-53-70-132-187.compute-1.amazonaws.com/
In order for GitHub to find your Jenkins server, you should plug in your fully qualified domain name.
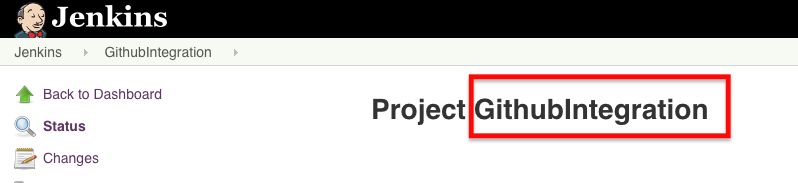
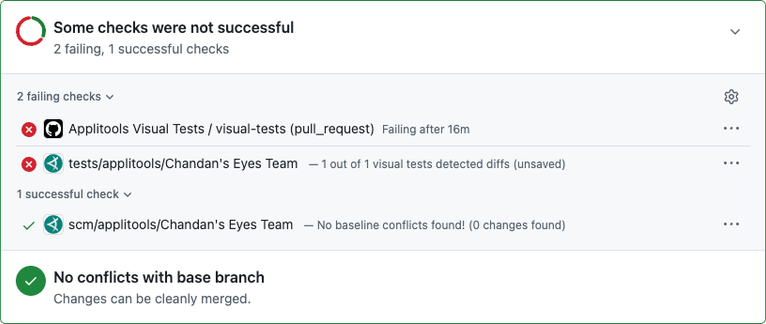
Now that you’ve configured both Jenkins and GitHub, the commit status will be shown in the GitHub pull request page when you merge a PR:
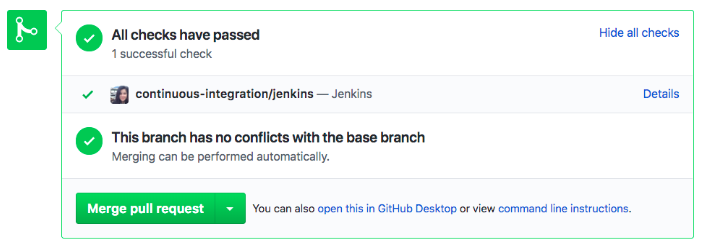
As you can see, the Jenkins build status is now appearing in the pull request page.
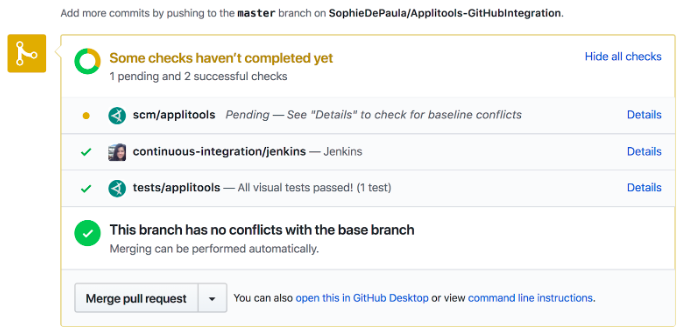
Pretty nice, right?
To display Jenkins build status in a GitHub pull request, you need to integrate Jenkins with GitHub. This involves setting up webhooks in GitHub, installing necessary Jenkins plugins, and configuring Jenkins to communicate build status through the GitHub API.
To configure a webhook in GitHub, navigate to your repository settings, select Webhooks, and click on Add Webhook. Set the payload URL to your Jenkins server’s webhook endpoint, choose application/json as the content type, and select the events that should trigger the webhook, such as “push”.
If the Jenkins build status is not updating in GitHub, check the following: ensure the webhook is correctly configured in GitHub, verify that the required plugins are installed and properly set up in Jenkins, and confirm that your GitHub access token is correctly used in the Jenkins configuration.
To set up the GitHub API call in Jenkins, you need your GitHub username, repository name, Jenkins URL, and the Jenkins project name. These details are used in the curl command within post-build actions to update the build status in GitHub.
Yes, you can automate the process by configuring Jenkins to send API requests to GitHub post-build. This involves setting up scripts in Jenkins that trigger automatically upon build success or failure, ensuring the build status is always up-to-date in your GitHub pull requests.