
A hands-on guide for getting started with visual UI testing for mobile apps with Applitools and Bitrise easily.
Mobile apps play a critical role nowadays in our life, especially during the pandemic period, like e-commerce, groceries, medical, or banking apps. As we know there are different mobile apps, technologies, SDKs, and platforms that make mobile testing have a lot of challenges and which need special technical skills from the testing team to tackle.
And because most of the mobile companies aim to release their apps on a weekly or bi-weekly release cadence based on the team decision to deploy new features to the customer before their competitors, they are using different techniques. One of them is test automation.
Based on that, in this article, I’ll walk you through the most important aspects of automating the Visual UI testing for mobile apps and running it via CI/CD pipelines using Applitools and Bitrise.
Visual Testing is a testing activity that helps us to verify that the GUI (Graphical User Interface) appears correctly and as expected to customers, by checking that each element on a mobile app appears in the right size and position on different devices and OS versions.
Mobile companies nowadays are applying Mobile DevOps and implementing CI/CD (Continuous Integration and Continuous Delivery/Deployment) pipelines to deploy their mobile apps consistently and frequently.
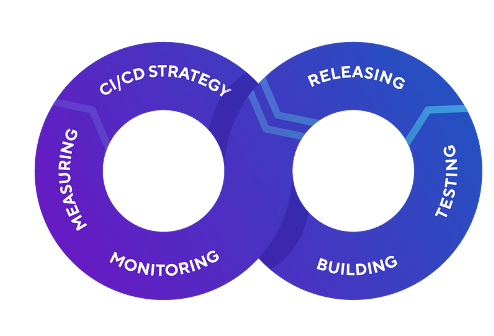

One of the vital parts of this process is test automation, to make sure that app functionalities are working as expected and test that there are no blockers or critical issues in the early stages (Fail Fast) by running these tests on every pull request or as a nightly build. And if we add Visual UI testing with this pipeline we will make sure that there are no issues in the GUI and all the features are displayed correctly.
In this tutorial, I will add the Visual UI Testing to my Android UI tests with Appium and then run my tests on Bitrise as CI/CD pipeline, covering the following steps:
To get started with Appium for Android applications, you should prepare your local machine with the following requirements:
More information about installing Appium can be found in the free Appium Course on Test Automation University or in this blog post.
If you don’t have an Android application, you can fork the Sunflower app from GitHub. Sunflower app is a gardening app illustrating Android development best practices with Android Jetpack.
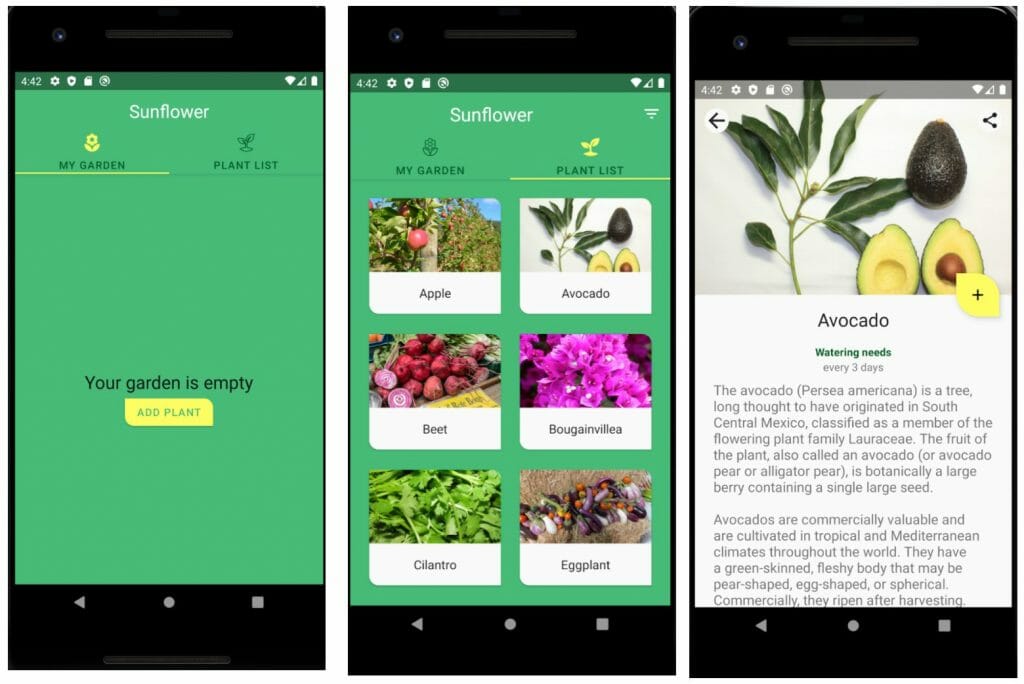
With Appium, you can test automation scripts or projects that are stand-alone. I created a Maven project (you can create a Gradle one if you’d like) with the following structure:
The full project can be found on GitHub.
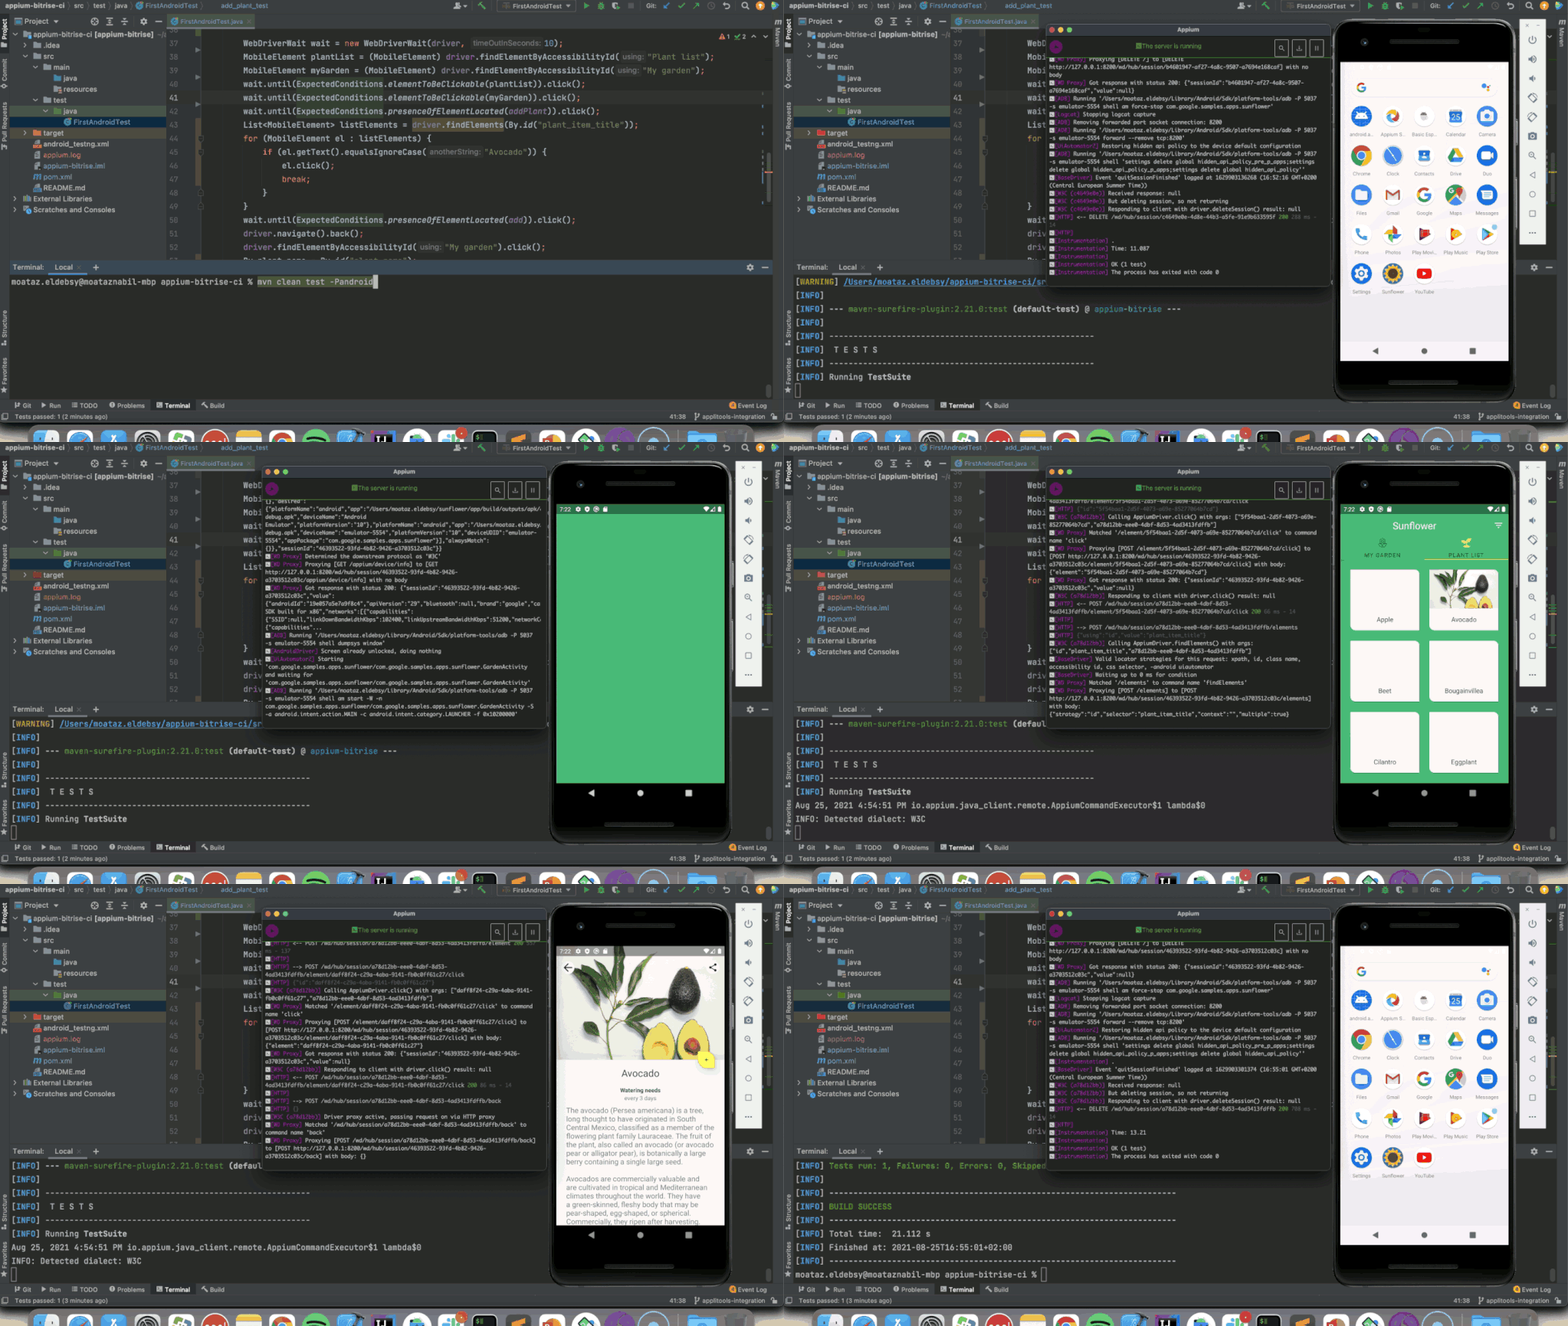
And now we can run the test using the following command:
> mvn clean test -Pandroid
And the results will be like the following image:
Now it’s time to add the Visual UI validation using Applitools Eyes SDK for Appium.
Applitools Eyes is powered by Visual AI, the only AI-powered computer vision that replicates the human eyes and brain to quickly spot functional and visual regressions.
If you don’t have an account you can create a free account from here.
Eyes eyes = new Eyes();
eyes.setApiKey("YOUR_API_KEY");
eyes.setForceFullPageScreenshot(false);
eyes.open(driver, "Sunflower", "Add My Plant");
eyes.checkWindow("Plant list",false);
eyes.checkWindow("My Empty Garden",false);
eyes.checkWindow("Avocado",false);
eyes.close();
eyes.abortIfNotClosed();
10. Now we can run our test again with the same Maven command and check the results in the Applitools Test manager with the steps view.
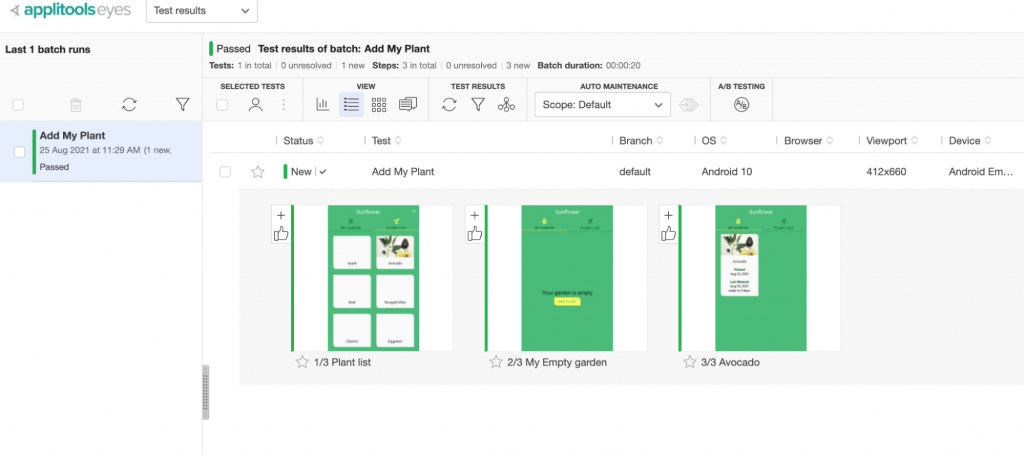
Or the Batch Summary View:
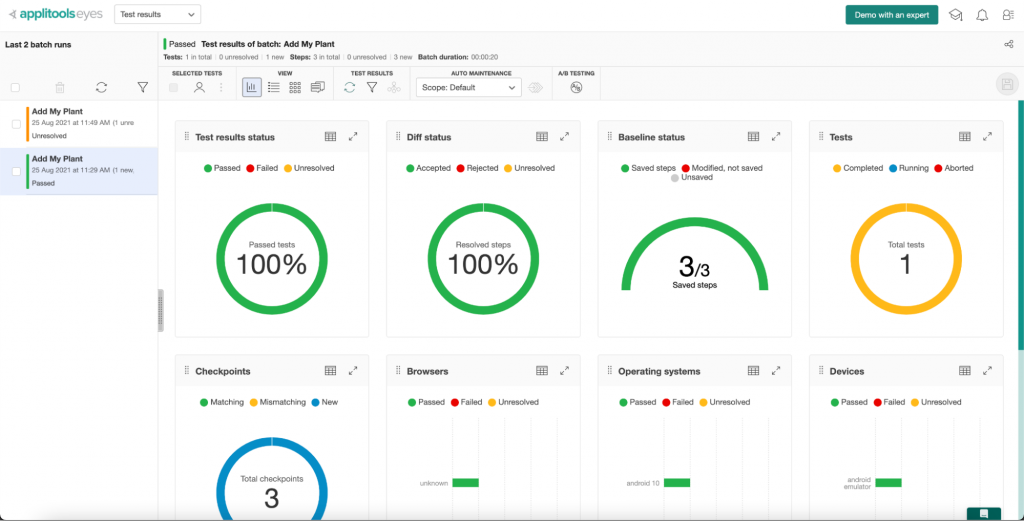
11. Try to run the test again and check if the results are the same or if there is an issue.
In my case when I run the tests again the test failed because the Eyes detected differences between the base images or the first run/batch and the 2nd run.

And I checked the dashboard to check the results and the differences:
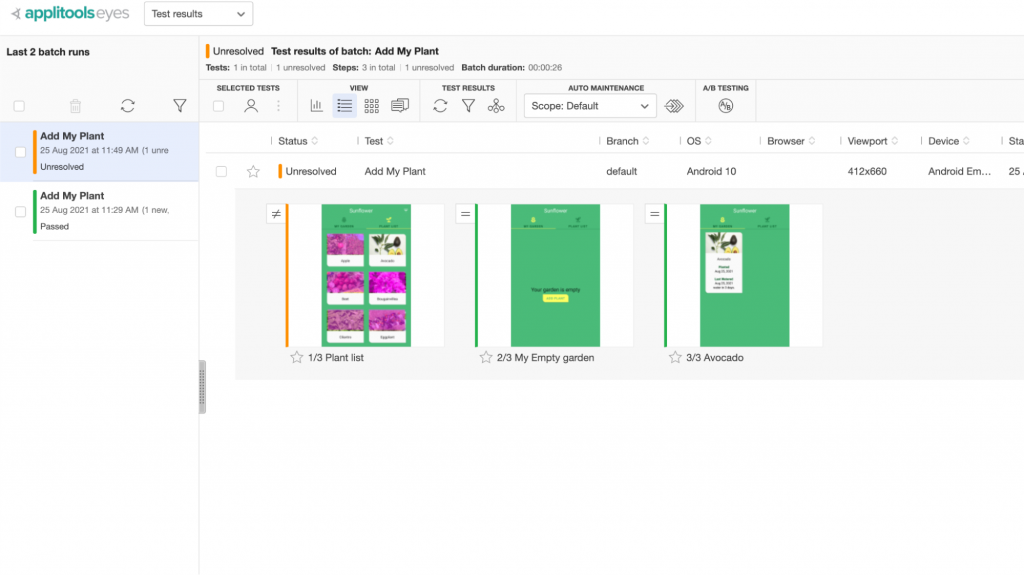
And I found that I have a difference in the first image which was already highlighted. You can click on the image for more details or compare it with the base image to check the difference.
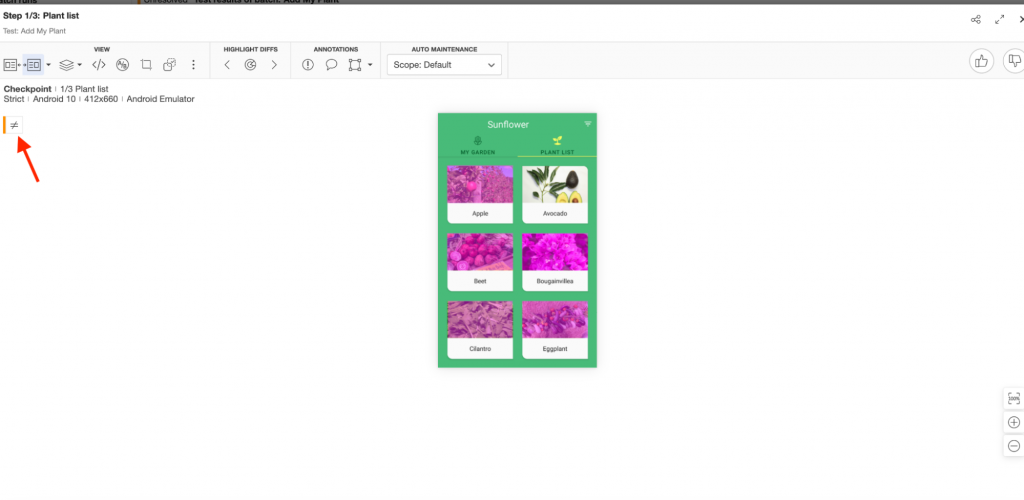
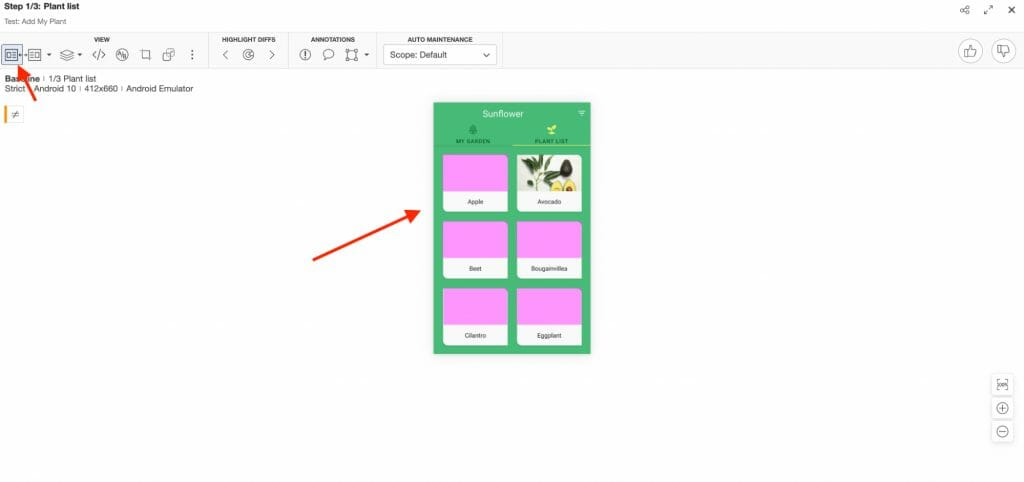
Because in my case sometimes the images loaded slowly, there was a difference between the two images.
And also you can check the Batch Summary View for more details.
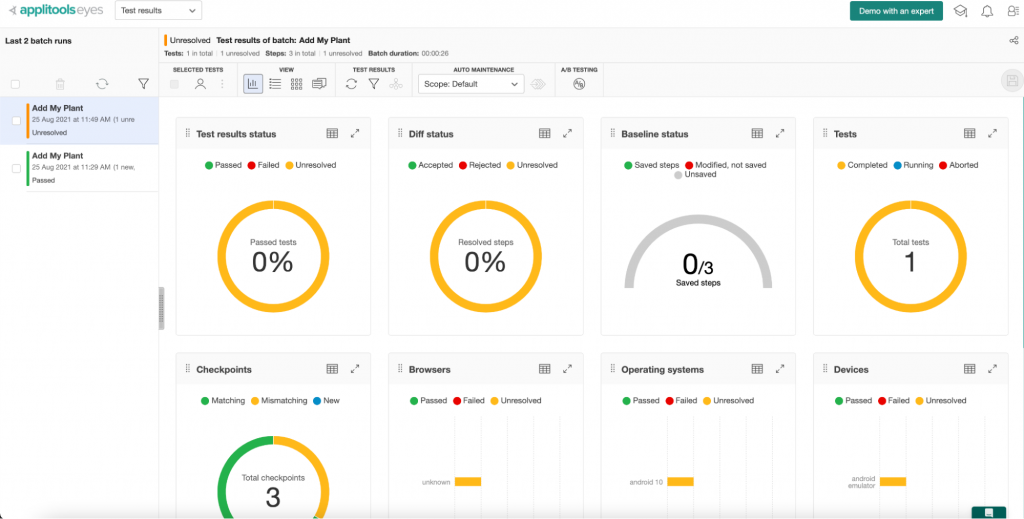
TIP: If you need to run on different mobile devices and OS versions in parallel, you can use Applitools Ultrafast Test Cloud. More info on that can be found here.
After we successfully run our tests locally, it’s time to integrate our tests with our Android CI using Bitrise.
But first, we need to do a small change in the application path, Applitools API Key, and the Batch ID. Locally, we’re using the absolute path of the app and hardcoded values, but with Bitrise or our CI server, it should be as an environment variables with the following steps:
caps.setCapability("app", System.getenv("BITRISE_APK_PATH"));
Now it’s time to integrate our Android app and the automation project with Bitrise.
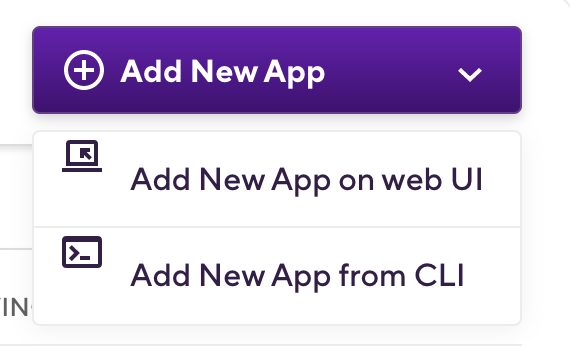
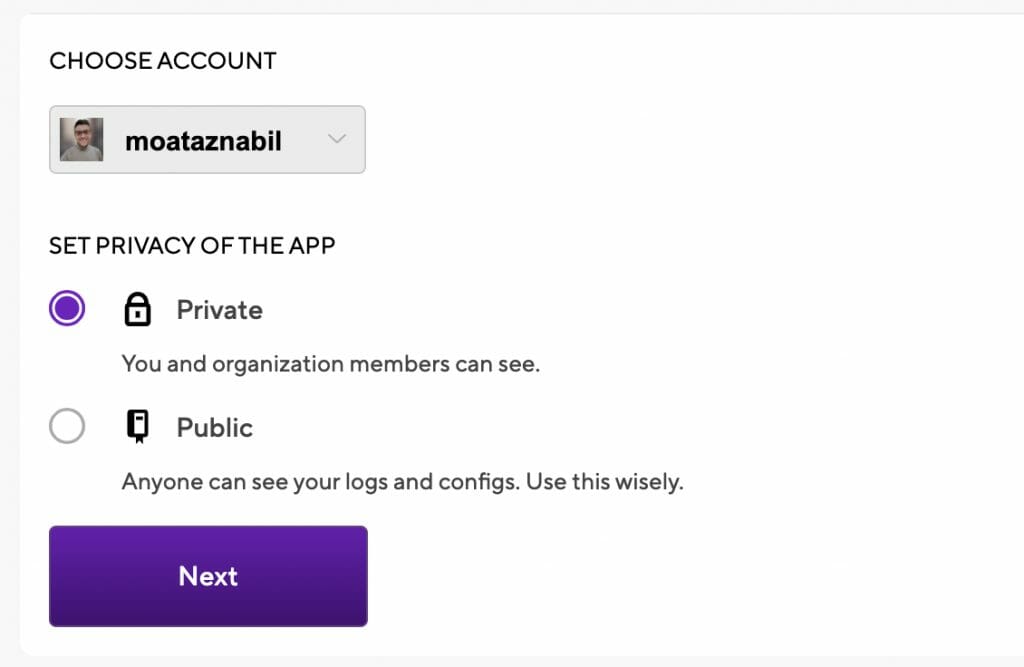

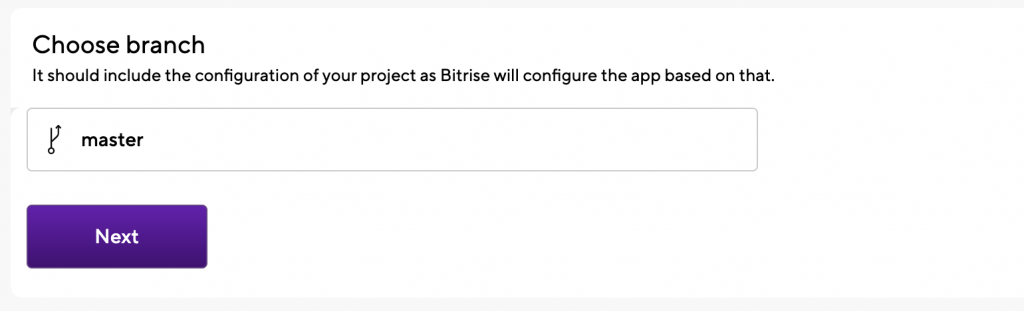

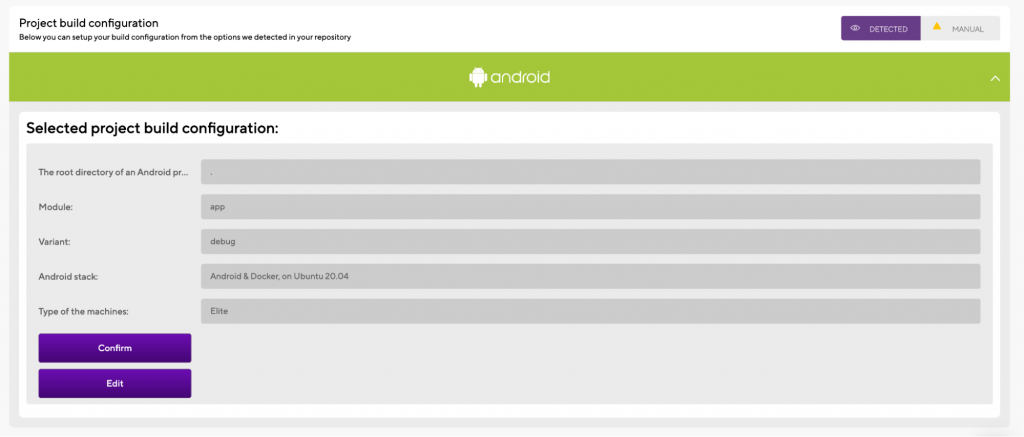
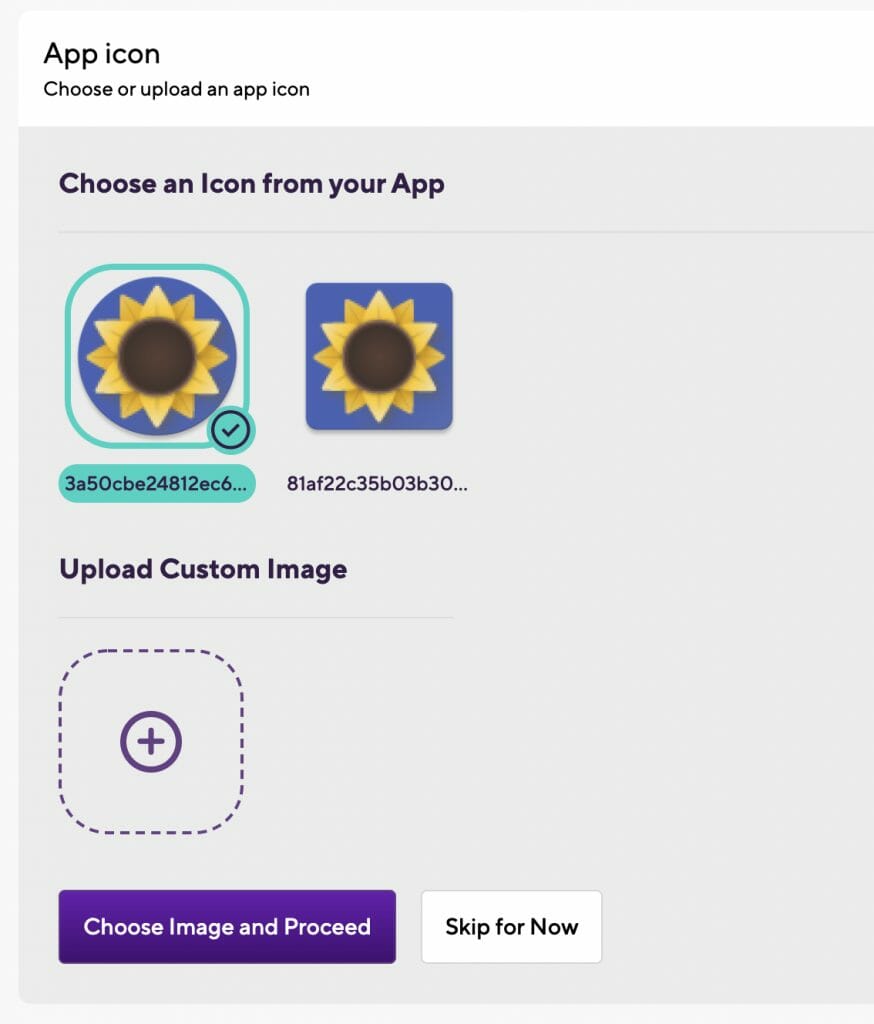
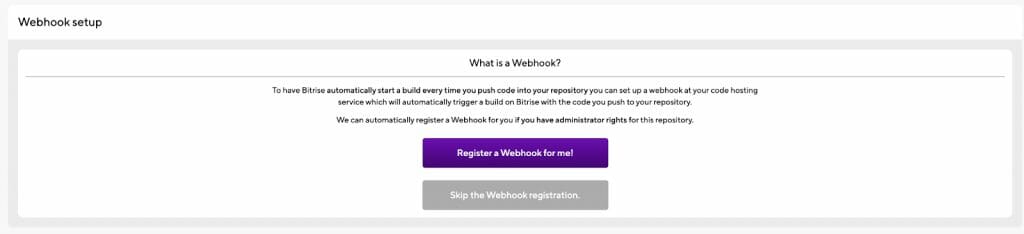
14. The final step is the Webhook setup. We just need to click on Register a Webhook for me! button and you will trigger your first Android build for your project

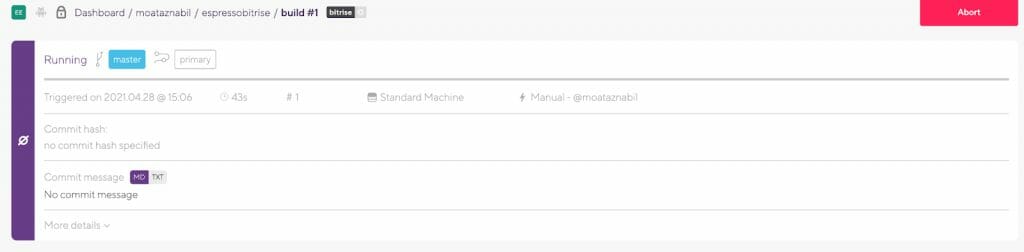
15. You will be redirected to the build log where you can check the Steps and the build status.
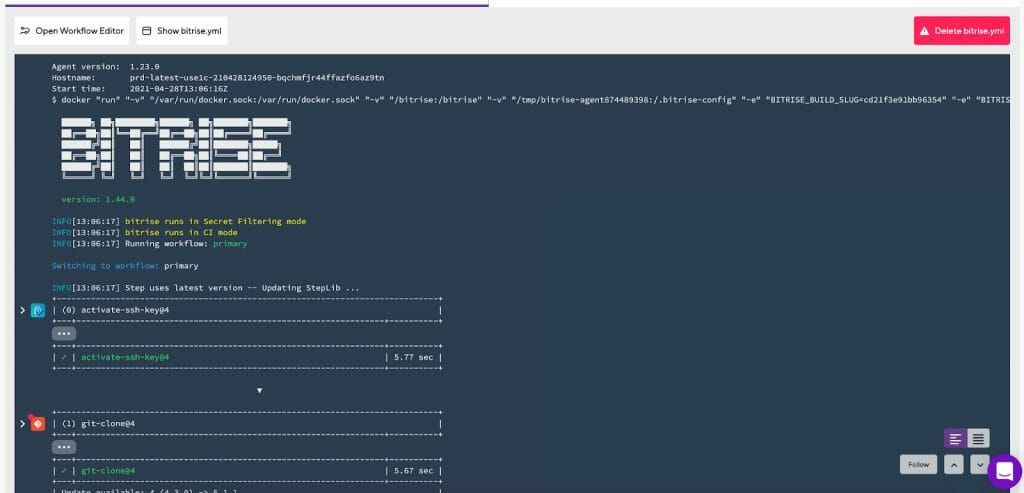
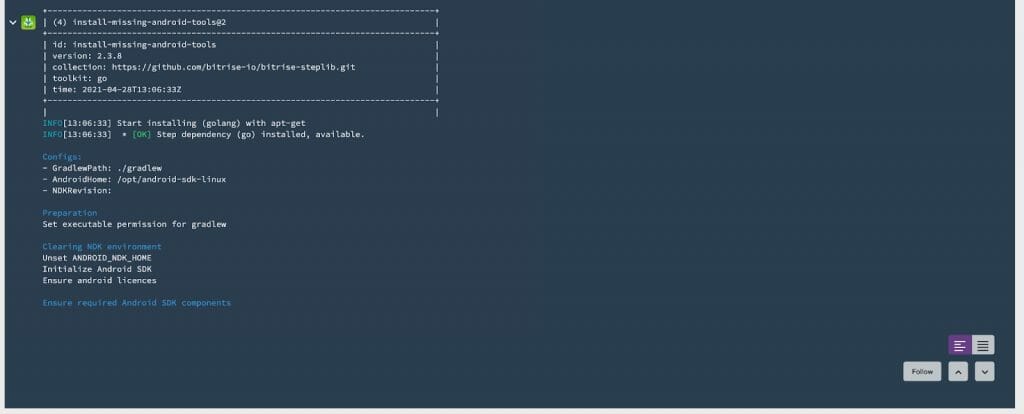
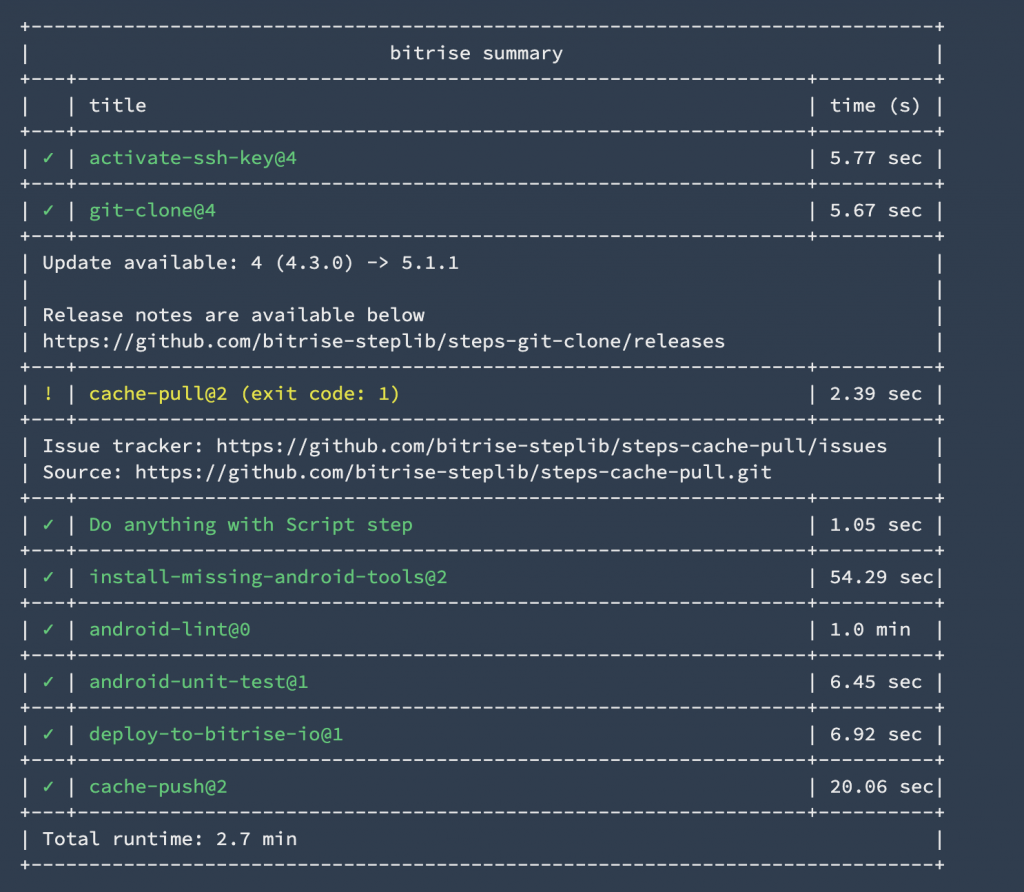
16. In the end, you will find a summary of all the tasks you ran during the build and how much time they took, along with the Step names. You can download logs or check the apps and artifacts here.
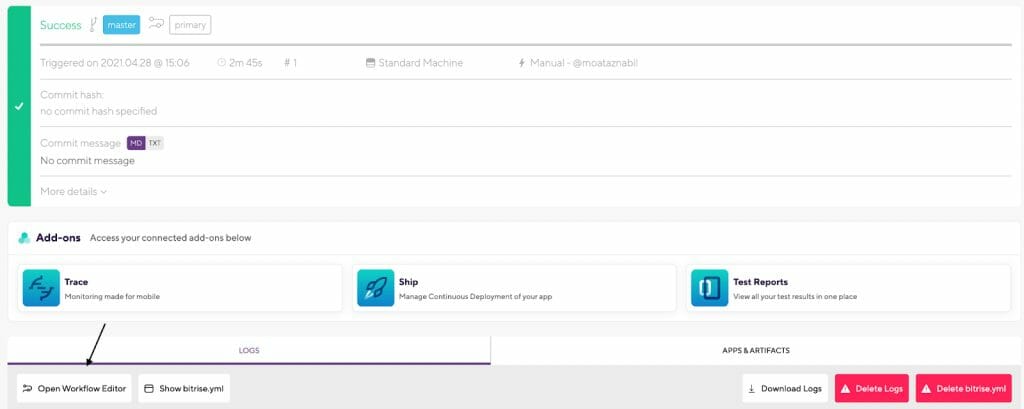
17. Now let’s open the Workflow Editor to configure the CI Workflow with the new steps required for Appium and Applitools integration.
You can rename the workflow as you like, for example from primary to appium-ui-tests:
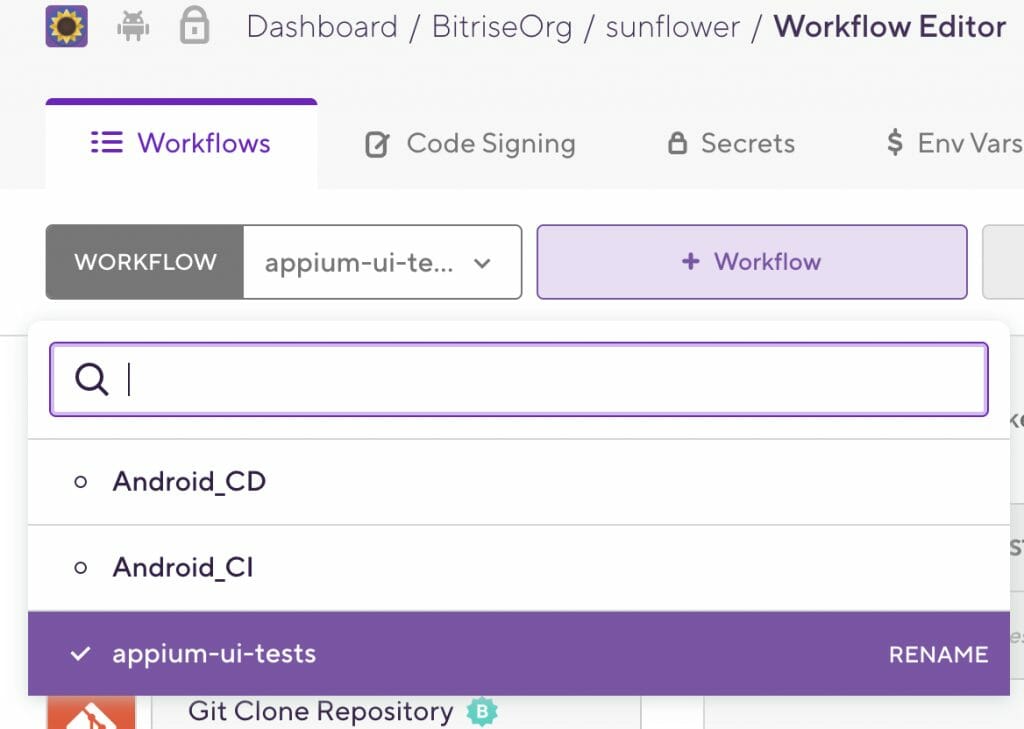
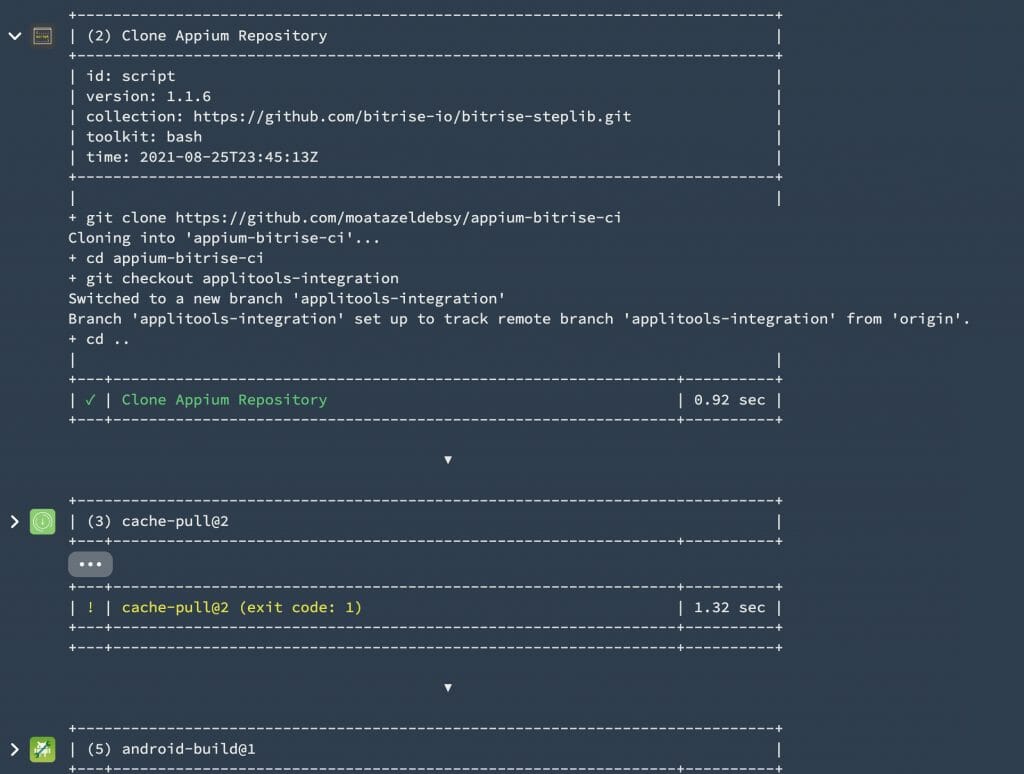
18. Add a Script step to clone the Appium repository by clicking on the + button and it will open the steps screen, then you can search about the script then select it.
19. As we know, we are using Appium Desktop as a server and inspector locally, but with CI servers we can’t use it, so we need to install and run Appium Server from the command line. Here I’ll add another Script step to install and run the Appium server in the background.
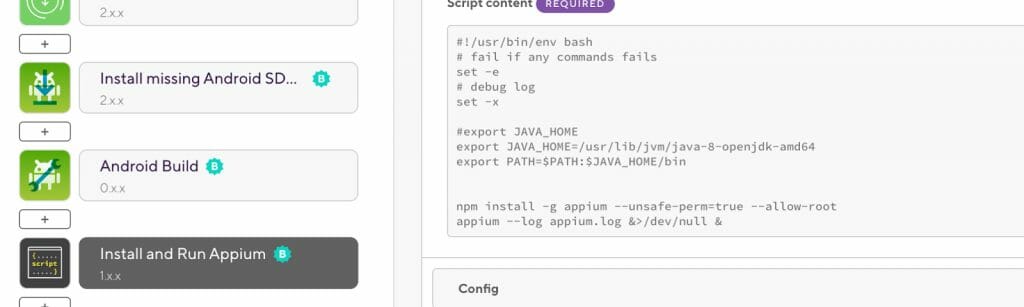
20. You will notice that I’m passing –log appium.log with the Appium command to export the server log as a .txt file for more debugging purposes if any tests failed.
21. Add the AVD Manager Step to create an Android Emulator to use with your tests. You can choose any API level. For example, you can change it to 28 but you need to change it in the Appium desired capabilities and commit the change to your GitHub repository as well.
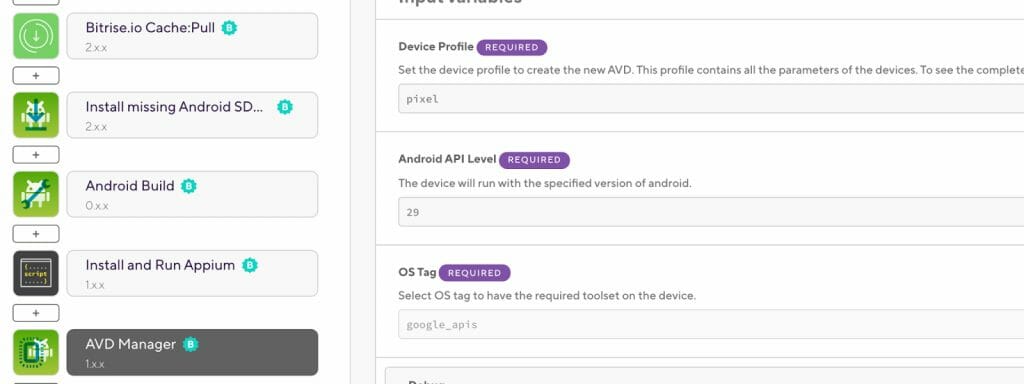
22. Add the Wait for the Android emulator Step and wait for the emulator to be ready before running our tests on it.
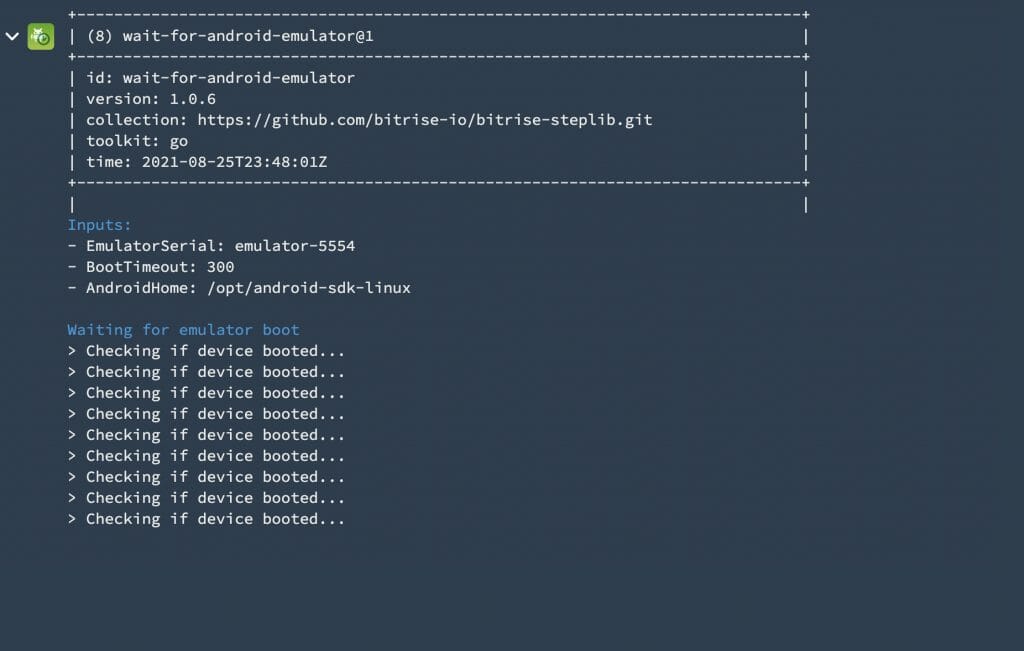
23. Add another Script Step to run the UI tests. You need to switch inside the automation project to be able to run the maven command.
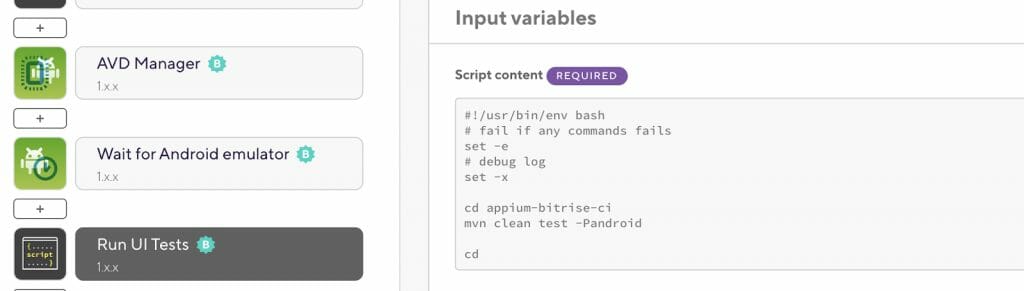
24. Add the Script Step to copy the Appium log file to the Deploy directory of Bitrise to be able to find it in the artifacts tab.
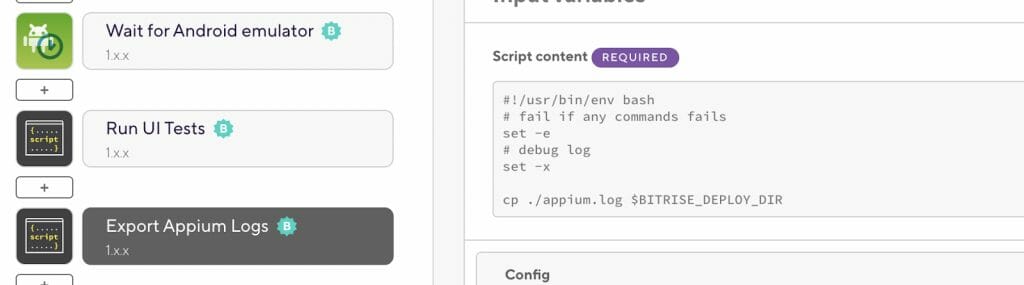
25. Add a Step to Export the test results to the Bitrise Test Report Add-on and specify the test results search pattern like this: (*/target/surefire-reports/junitreports/*)
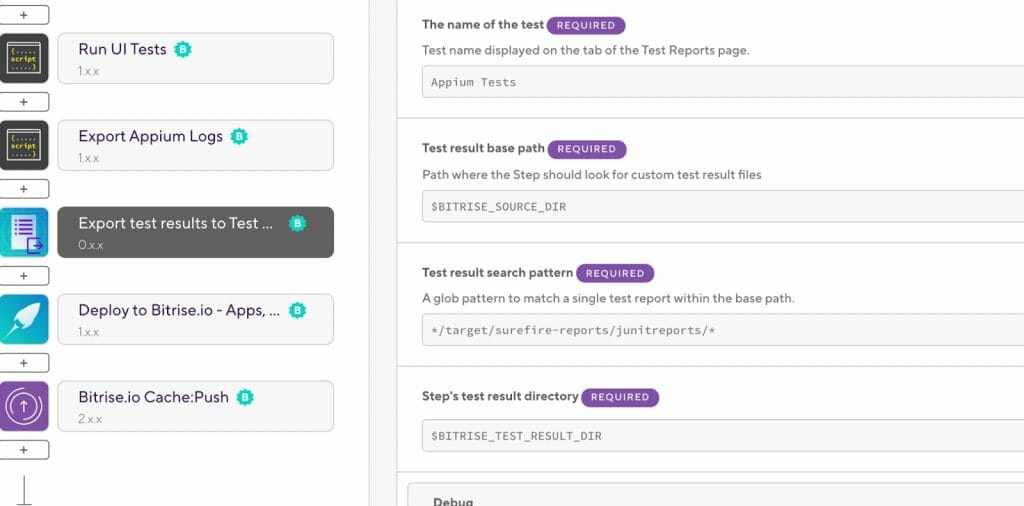
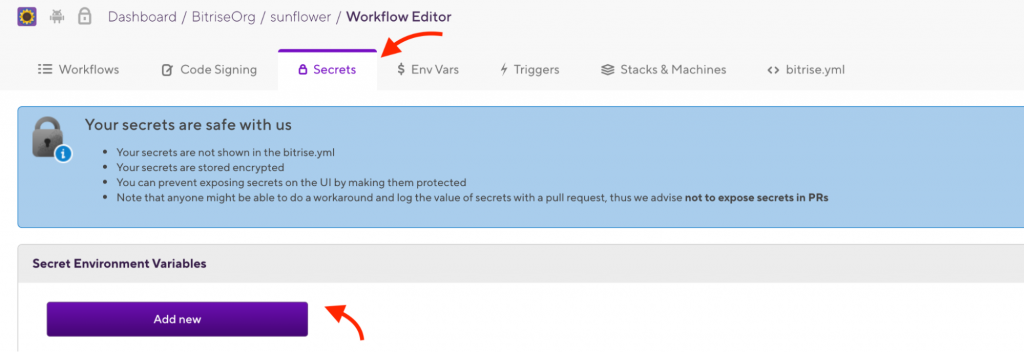
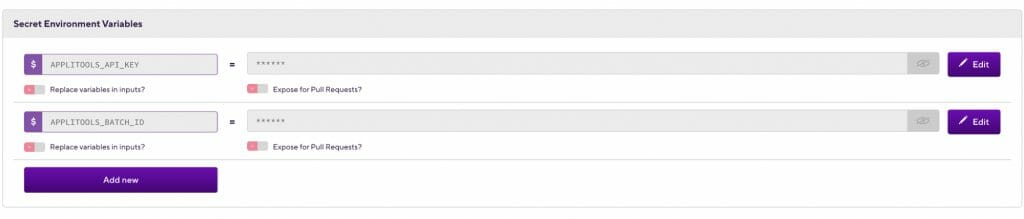
26. Add the Applitools API Key and the Batch ID as environment variables, by click on the Secrets menu option and click add button then add your APPLITOOLS_API_KEY and APPLITOOLS_BATCH_ID like the following image:
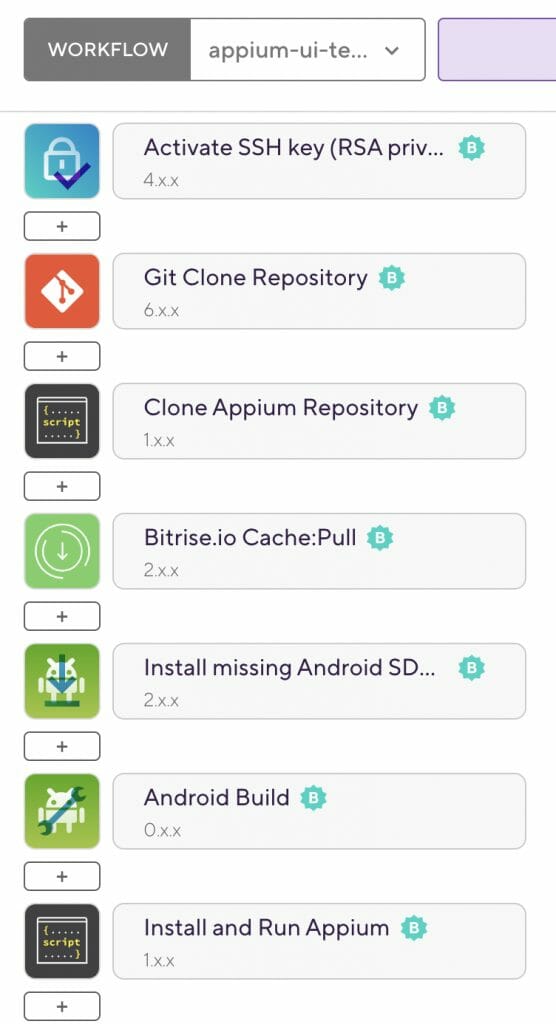
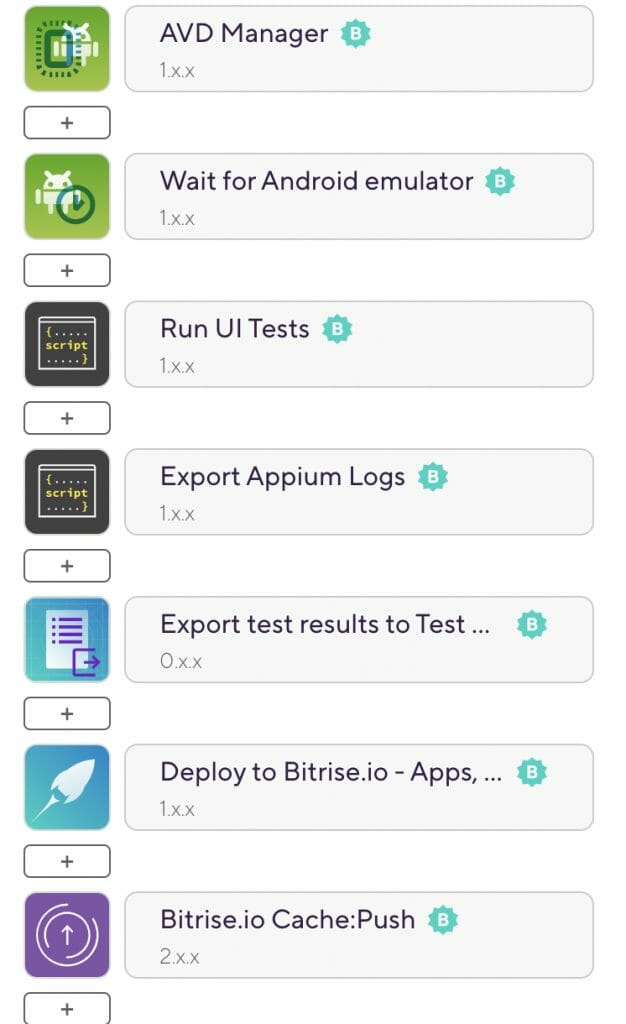
The final Workflow will look like the following:
To run the Workflow, go to the application page and click on the Start/Schedule Build button and select the Workflow then click on the Start Build button.

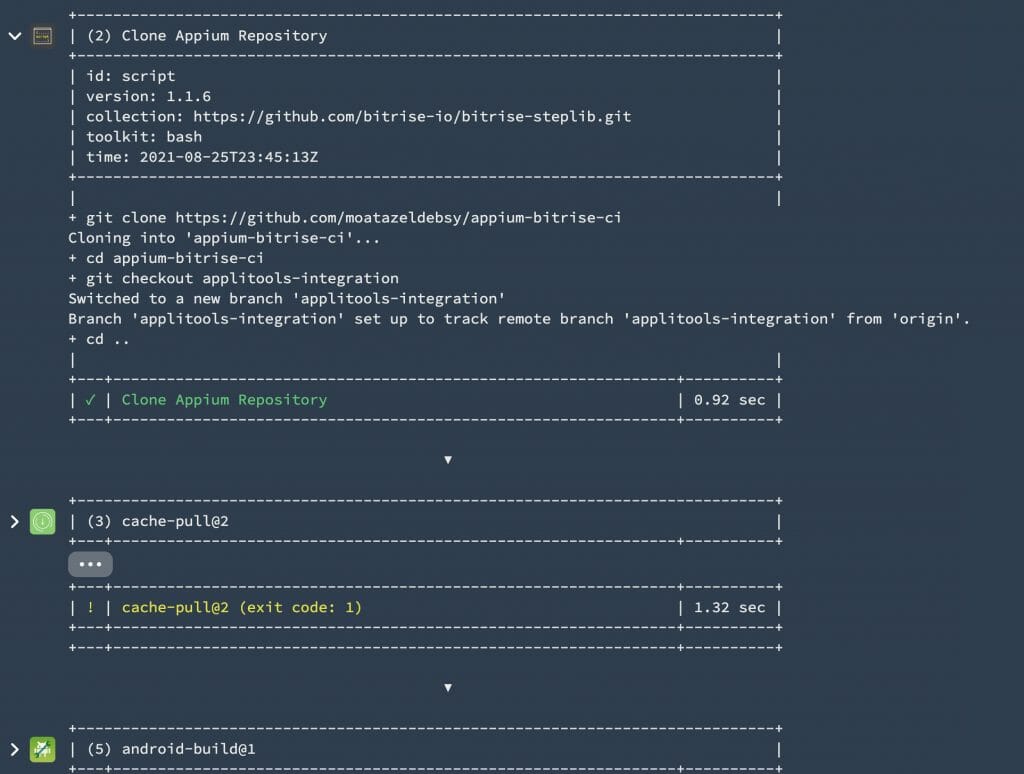
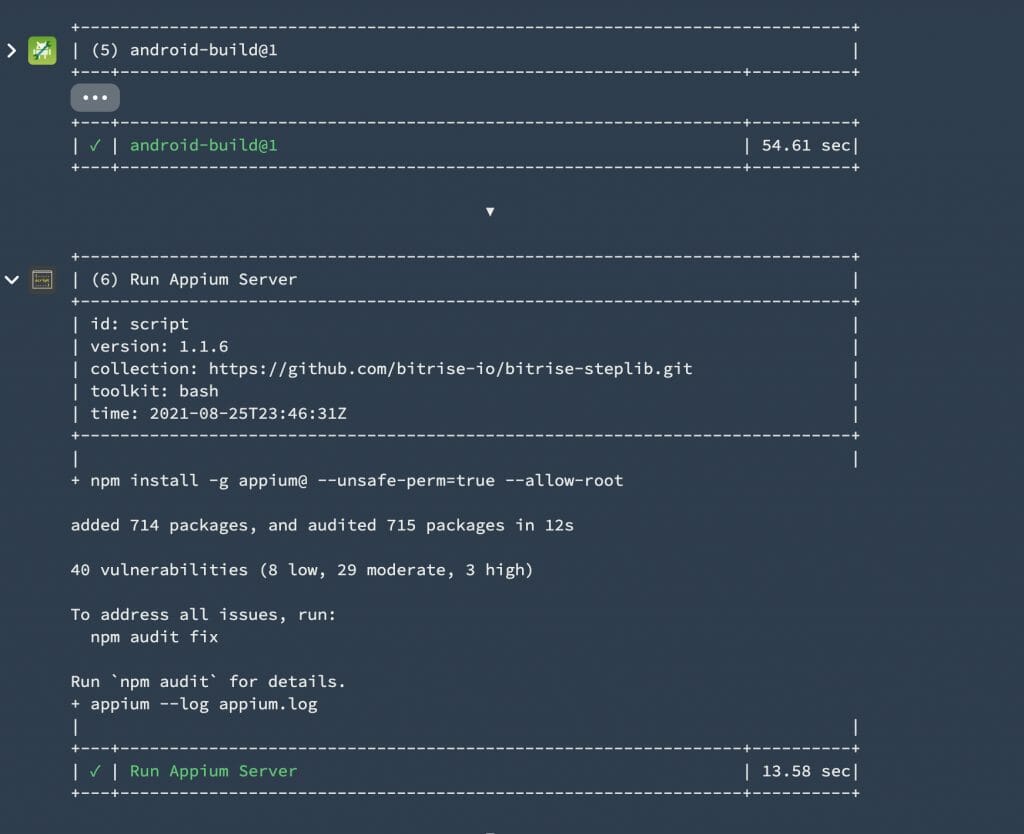
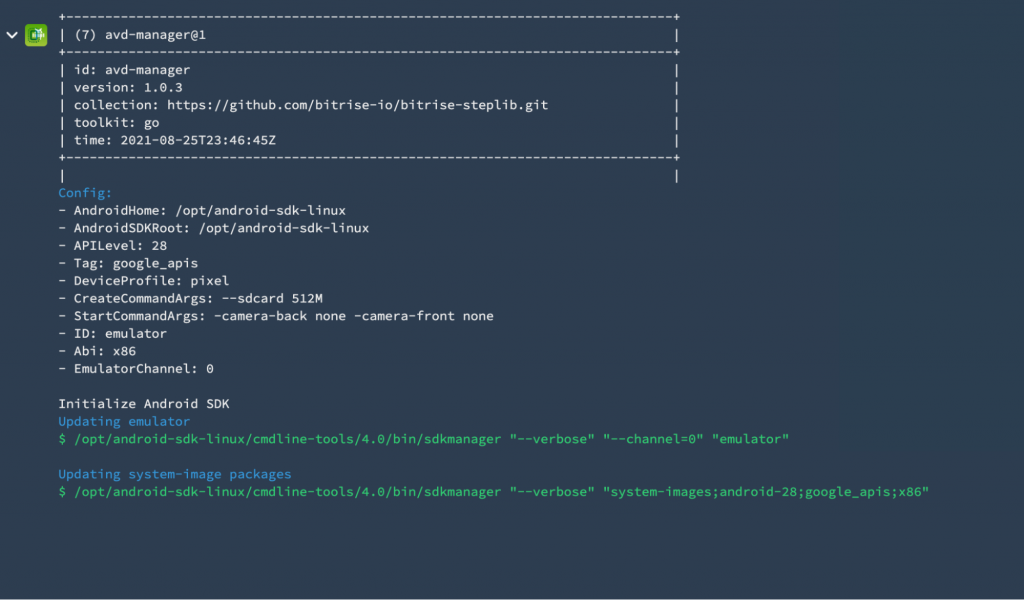
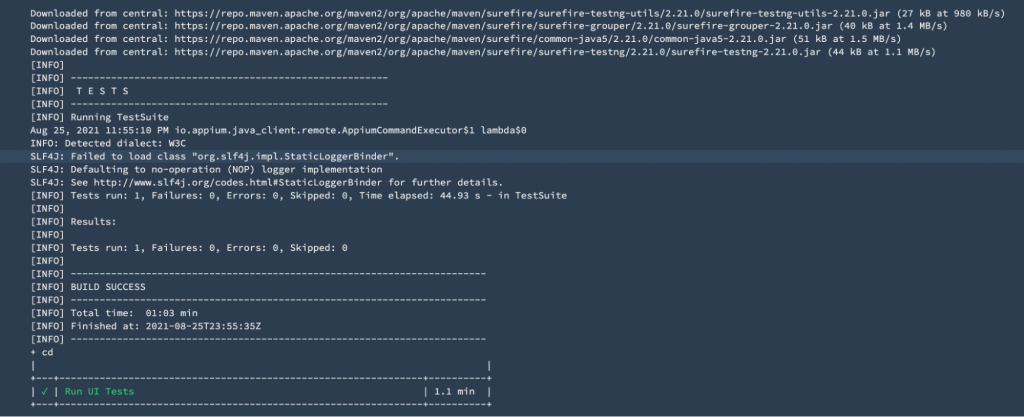

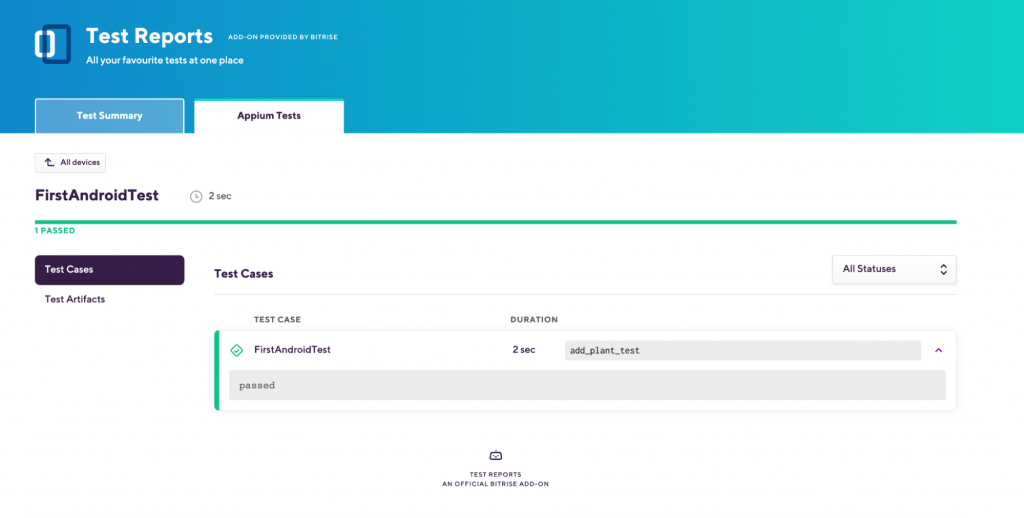
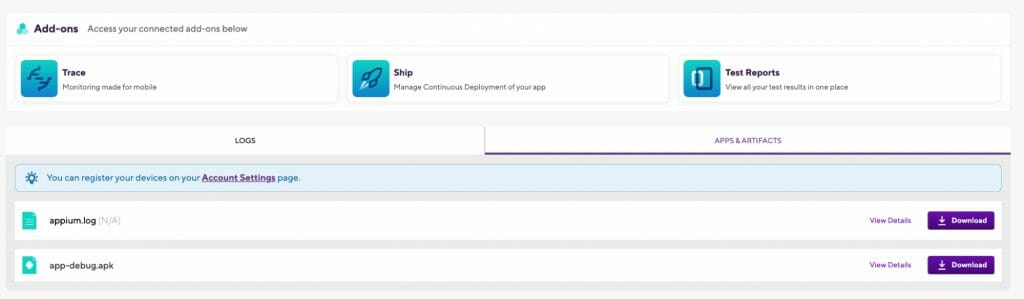
To check the test results and the Appium log file you can click on the Test Report add-on, and for the appium log and the app.apk file, you can click on Apps & Artifacts tab.
Finally, we successfully added the Visual UI testing for our Android app and we can run the tests on every pull request or as a nightly build to make sure that we don’t have something breaking our codebase and to keep our master branch always green.
I hope you found this article useful and thank you for reading it!